


6 Useful Tips for Remote Shooting via Wi-Fi with the Camera Connect App
Here are some handy techniques for remote shooting with Canon’s feature-packed Camera Connect app. Find out ways to magnify the preview image on your display screen, and also about how to use manual focus for pinpoint focusing.

Tip 1: Use horizontal orientation for a bigger display image, and double-tap to get 5x magnification
After launching the Camera Connect app on your smart device, you can tap [Remote live view shooting] to enable remote shooting. If you feel that the image is too small, try displaying it in the horizontal orientation. Turning your smart device by 90° automatically switches the display to the horizontal orientation, which is larger than the vertically-oriented image. Of course, you can also magnify the image manually. For example, if you need to achieve pinpoint focus on a small subject, you can magnify the display by 5 times simply by double-tapping the point you want to focus.

By turning your smart device by 90°, you will be able to get a larger view of the image you want to capture. Note that the position of the shutter button and settings button will also change with the orientation.
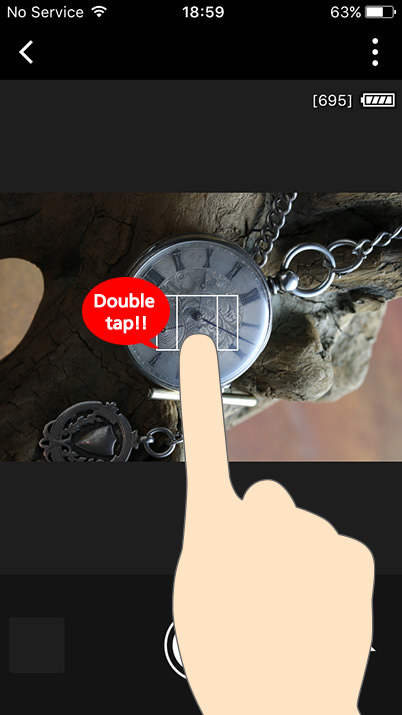
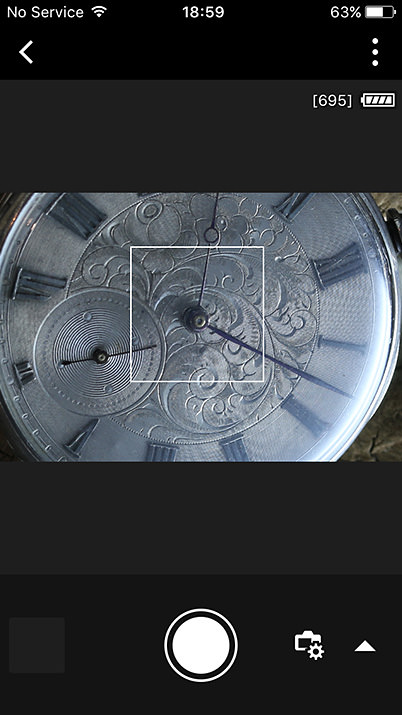
You can also double-tap* the image to magnify it by 5 times. To restore the original size, simply double-tap again.
*Pinching in and out does not alter the size of the image.
Tip 2: Change camera settings from the smart device
One of the advantages of remote shooting using the Camera Connect app is that you can make changes to the camera settings from the smart device, including the aperture value, shutter speed, ISO speed, exposure compensation and the like. For example, during a long shoot where you have to set up the camera and wait for the right photo opportunity, this feature allows you to raise the ISO speed or alter the shutter speed according to changes in the surrounding conditions. There is no need for you to move to the camera each time, and is non-disruptive nature is very useful for when you are lying in wait for the subject to appear, such as in wildlife photography. Settings that are adjustable vary with the shooting mode*.
*Below are some of the settings that can be adjusted in the respective shooting modes.
P: ISO speed, exposure compensation value
Tv: Shutter speed, ISO speed, exposure compensation value
Av: Aperture value, ISO speed, exposure compensation value
M: Shutter speed, aperture value, ISO speed
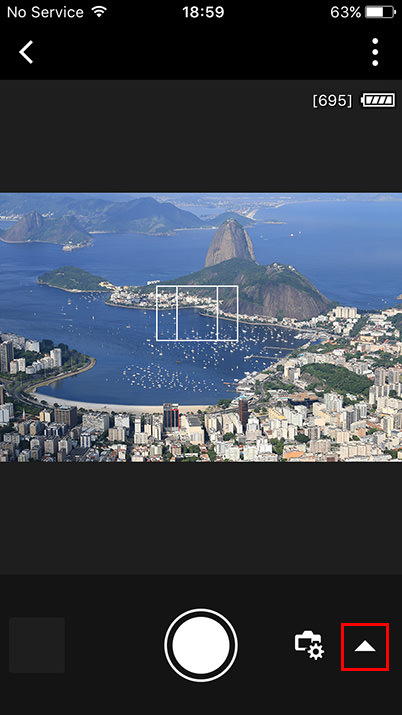
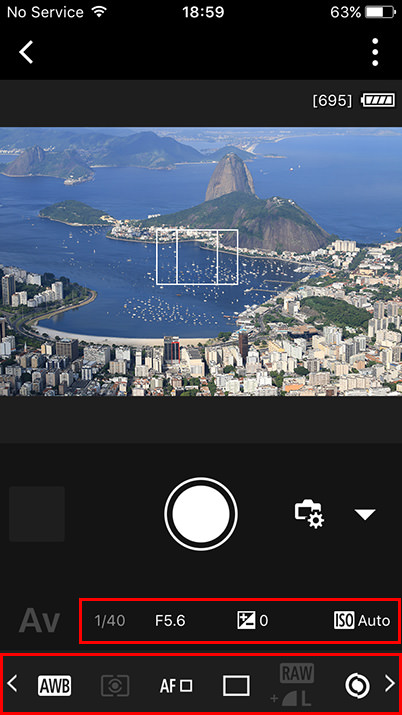
Simply tap the Shooting settings button and you can change the settings of the displayed items.
Tip 3: Use the dedicated AF button to establish focus
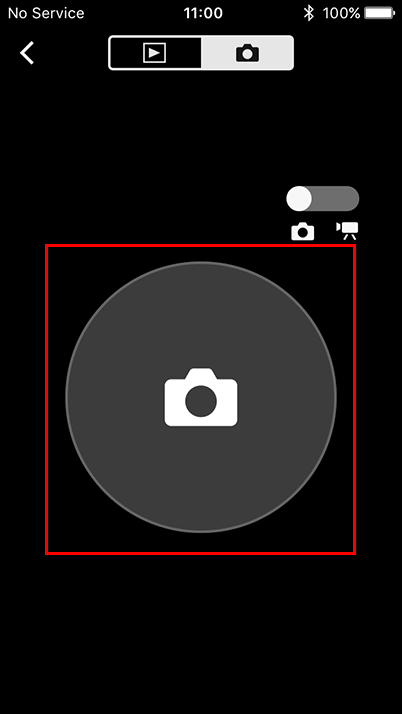
Only the shutter button is displayed when the Camera Connect app is in the default state. However, you can change the settings to display the AF button, which comes in handy when you want to fix the focus on a specific point and capture the decisive moment quickly. To do so, tap the AF button and slide it toward the shutter button in the focused state.
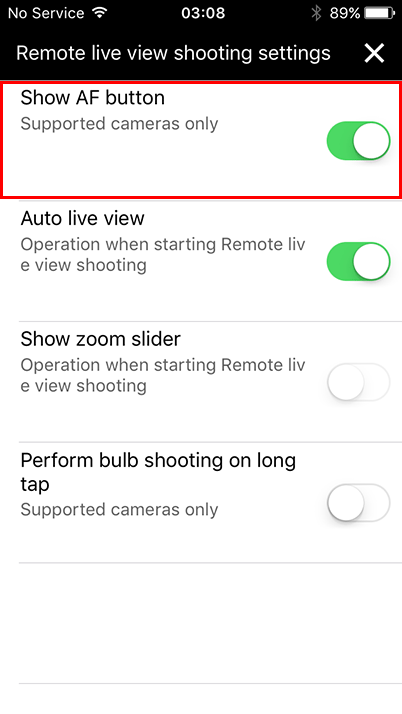
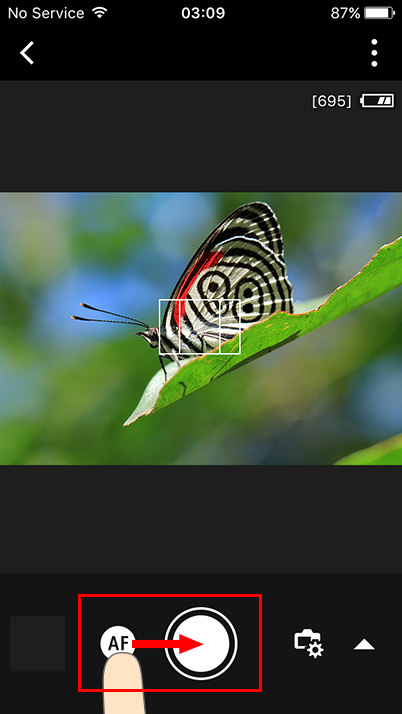
Tap the Settings button at the top right corner of the Camera Connect screen, followed by tapping Show AF button that appears on the settings screen to display the AF button. After tapping the AF button to establish the focus, you can capture a photo by sliding it toward the shutter button.
Tip 4: Use manual focus for pinpoint focusing
Manual focus is also supported during remote shooting*, and this comes in handy such as when you are taking a macro shot. However, before shooting with manual focus from the Camera Connect app, first set the focus mode switch on the lens or camera to AF instead of MF. Also, note that MF cannot be enabled if Continuous AF in the still shooting mode or Movie Servo AF in the movie shooting mode is set to “Enable”, so you need to change these settings in order to photograph with MF.
*Manual focus can only be used on models that support manual focusing.
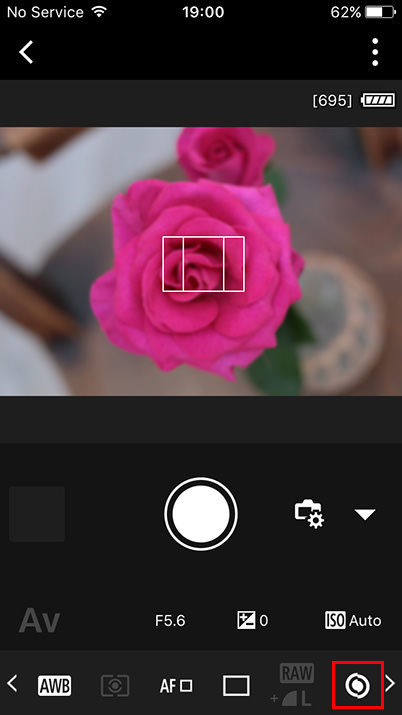
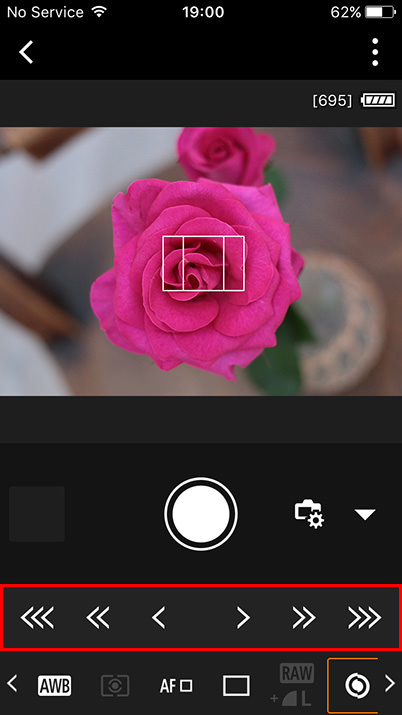
Tap the MF button. To adjust the focus position, tap the arrows that appear. A larger number of arrows indicates greater displacement of the focusing lens elements, i.e, the focus will move in or out by a greater degree. To go back to the previous, unfocused state, press the MF button again.
Tip 5: Use Bluetooth connection for speedy remote shooting
If the camera that you are using supports Bluetooth low energy, we recommend using Bluetooth connection, as it enables the camera to stay connected to the smart device at all times, thus allowing for speedy remote shooting immediately after Camera Connect is launched. Unlike Wi-Fi connection, the Bluetooth connection between a paired camera and smart device is constant, as long as they are within each other's range.
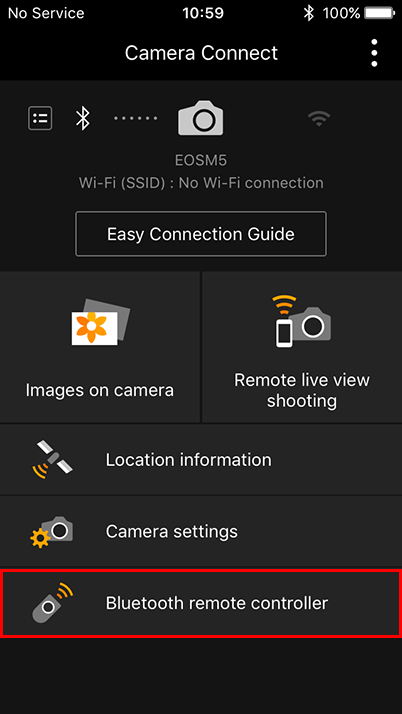
You can release the shutter speedily by using the Bluetooth remote controller, which enables the camera to stay connected to a smart device at all times via Bluetooth. Besides shooting still images and movies, it can also be used for browsing images.
Tip 6: Disconnect Wi-Fi when not needed to reduce battery consumption
For some camera models, the Wi-Fi connection does not turn off automatically upon closing the Camera Connect app. In this case, it is recommended that you turn off the Wi-Fi connection between the camera and the smart device after using to avoid unnecessary consumption of the camera’s battery power. In contrast, Bluetooth connection requires very little power and thus there is no need to turn off the function even when it is not in use.
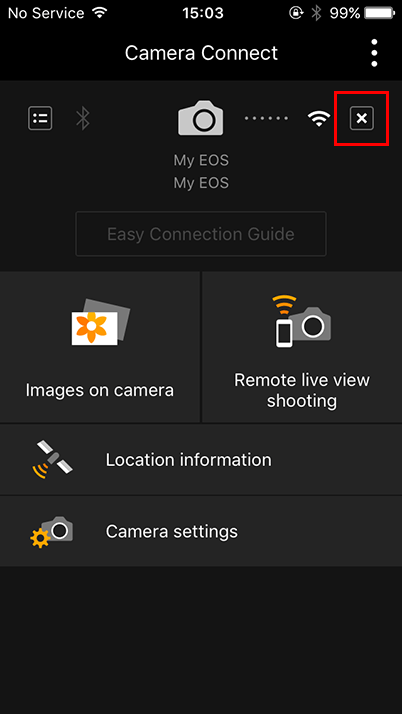
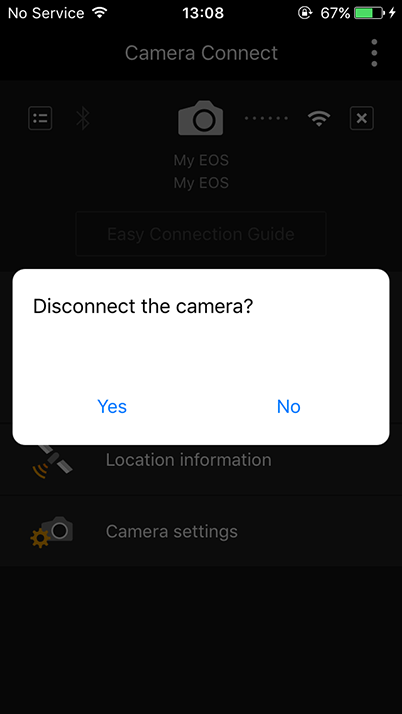
Upon tapping the “x” mark at the top right corner of the Camera Connect menu screen, you will be prompted with a message asking whether you want to turn off the Wi-Fi connection.
*Images and steps may differ on Android and iOS mobile devices.
Below are links to other related articles on Wi-Fi and Camera Connect.
Fun Ways to Use Your Camera’s Wi-Fi (Part 1): Introduction to Wi-Fi Features
Fun Ways to Use Your Camera’s Wi-Fi (Part 2): Real-Life Examples
Receive the latest updates on photography news, tips and tricks by signing up with us!

