


Fun Ways to Use Your Camera’s Wi-Fi (Part 2): Real-Life Examples
Following from our previous article on things you can do with Wi-Fi on your camera, we now bring you an interview with four users in relation to remote control shooting, viewing photos on smartphones, transferring photos to smartphones and the use of web services. With some actual scene examples, we hope it will encourage you to put the Wi-Fi function to greater use.

Example 1: “Remote control shooting makes photographing small animals easy” - an EOS 80D user
- What do you most use the Wi-Fi function for?
I use it for remote control shooting when I need to photograph subjects such as birds and other small animals.
When photographing birds and small animals, we need to wait patiently for our subject to appear, but they usually stay away if people are nearby. In this case, what I do is set up the camera on a tripod, and make use of Remote Live View on the smartphone to release the shutter from a distance while checking the image on the smartphone’s screen.
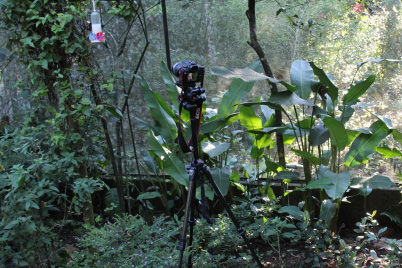

Set up the camera in advance at the site of the shoot and wait from a distance for the subject to appear. It is important to set the tripod firmly so that the camera does not topple.
- It is indeed true that animals do not come close if there are people nearby.
Yes. Remote control shooting also comes in handy when taking a shot from an extremely high or low angle. The key point here is to set the tripod firmly so that the camera does not topple. Other than that, remote control shooting also enables you to wait inside the car when shooting at night*, but I would advise you to be careful of your camera being stolen.
* Note: The Wi-Fi function allows the camera to communicate with a smart device that is about 10m to 15m away. However, this distance may vary if there are objects obstructing, or radio wave interference caused by other devices.
- I see. We tend to associate remote control shooting with group photos, but depending on how it’s used, we might actually capture shots unlike any other we produced before.
Example 2: “Choosing photos can be done on a smartphone” - an EOS 5D Mark IV user
- What is the part you like most about the Wi-Fi function?
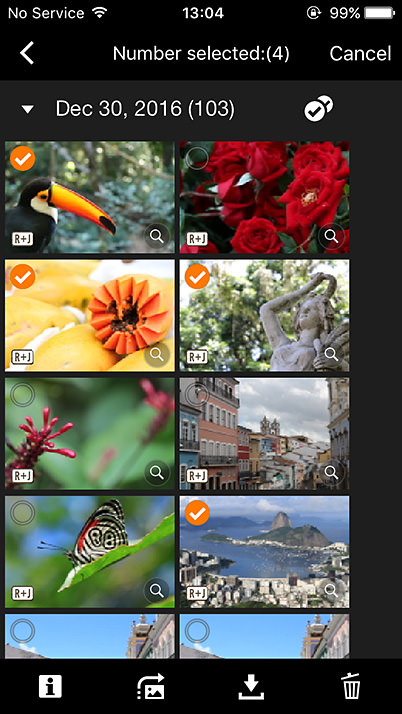
It’s very convenient to be able to view a gallery of all images on your camera on the smartphone. The gallery is full of features that allow you to check on each image.
- How is it different from checking the image on the LCD monitor of the camera?
Besides the larger screen for displaying the image, it is great because it enables me to sort image files in the gallery view, which cannot be done on the camera. It is also good that I can filter the search options.
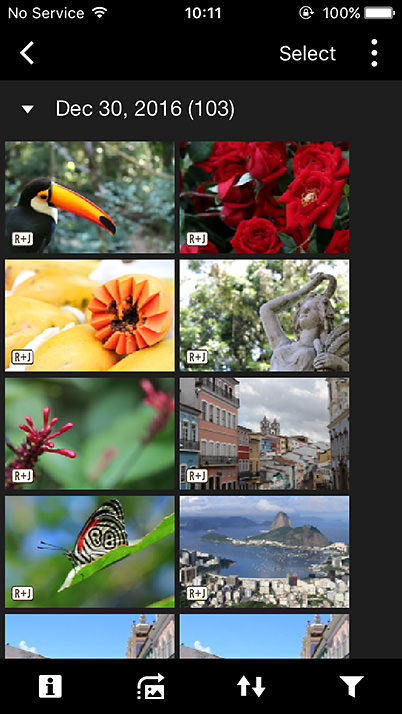
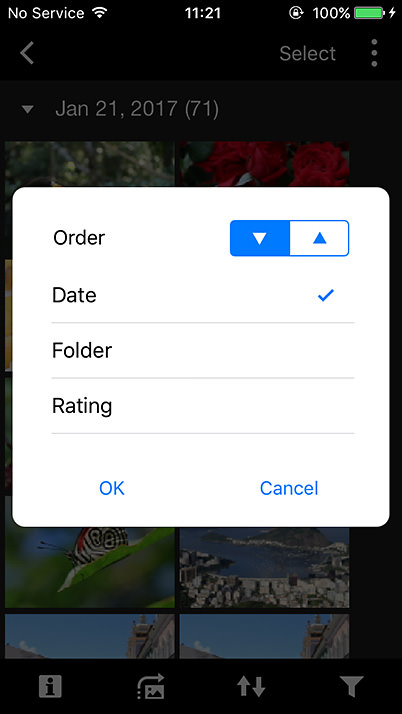
In the Camera Connect app, you can sort the images in the gallery by date, folder or rating, and in ascending/descending order. In addition, you can also jump to images taken on a specified date, or filter images by date range or file type.
- I see. The sort and filter search functions are very convenient.
I use the Rating function the most. Although this is also available on the camera, I find the one on the smartphone easier to use, and it allows me to check the photos on the way back home from the shoot even with the camera kept inside the bag. This removes the hassle of having to take the camera out from the bag while on the move. The Rating option is also supported on the Digital Photo Professional software that comes with the camera, and this means I don't have to spend so much time sorting out the photos on the PC.

You can use your smartphone to rate the photos in the camera. Also, the Rating option is linked with Digital Photo Professional, which helps to shorten the time needed to sort out the images after they are imported into a PC.
- That sounds really useful. It would indeed be very time-consuming to sort out large volumes of images. And we can do something productive while on the move, too. I would like to give it a try myself next time.
Example 3: “It’s so easy to share photos with others” - an EOS M3 user
- What do you most use the Wi-Fi function for?
I often make use of the image transfer feature to share photos with others via Wi-Fi.
- Doesn’t the large size of the camera images take up a lot of space on your smartphone?
That’s not a problem, because the files are resized automatically during the transfer. The photos that are received from the camera are about the same size as those we take using a smartphone. Also, the resolution is good enough for viewing on a smartphone, and for uploading it to social media.
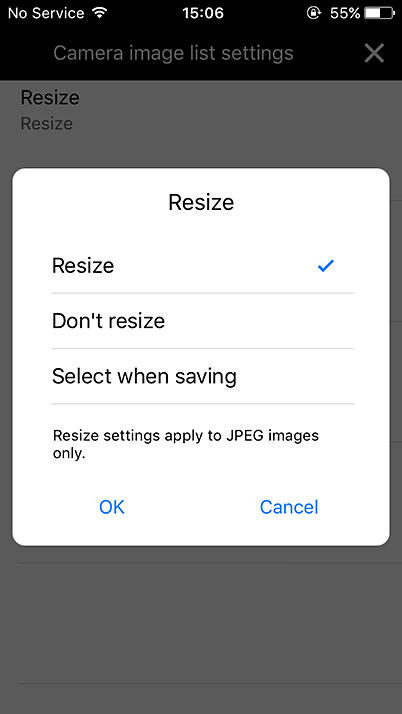
You can opt to resize image files when transferring them to a smartphone, so you do not have to worry about your smartphone running out of space. The default setting of the Camera Connect app is set to “Resize”. You can also transfer multiple images at the same time.
- I see. It seems like the Camera Connect app offers a lot of convenience.
Yes, indeed. It is a hassle to choose photos and send them out, don’t you think? With Camera Connect, everyone can view photos from my camera on their smartphone and download those that they like. I don’t have to do anything! When I want to transfer images to my smartphone, it is really easy because it just requires a touch.

You are able to access images on your camera from your smartphone and transfer those you like. If your smartphone supports NFC, simply touch it against the camera to connect the devices*, and you can start transferring images right away.
* NFC connection is supported on Android OS only.
- If your smartphone supports NFC, then it is very convenient since you can establish a Wi-Fi connection simply by touching the N marks of the camera and the smartphone together. Although prior setup is needed on both devices in order to use the Wi-Fi function, photo transfer is easy and we do not have to worry about the large file size of the images. It’s enough to make me want to make fuller use of the function myself.
Example 4: “With it, I can upload my videos easily” – a PowerShot SX720 HS user
- I hear that you upload video straight from the camera using the Wi-Fi function.
Yes. Many people seem to have the idea that uploading videos is difficult, but it is in fact very simple*.
*Note: Some camera models do not support uploading of videos to web services. For more information, please refer to the instruction manual of the camera model or Canon’s official website.
- I have not tried it. The settings seem troublesome to me...
First of all, you need to have a Canon Image Gateway and YouTube account. On your PC, use the bundled ‘EOS Utility’ software to link the camera to a web service. Then, you have to register the camera to the web service*.
* Editor’s note: We will introduce the steps for uploading images and videos to a web service in the next article in this series.
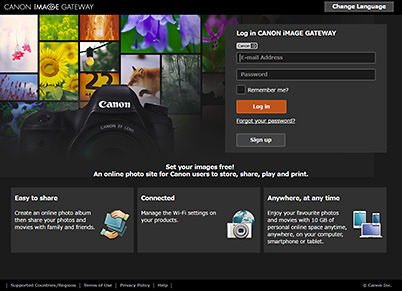
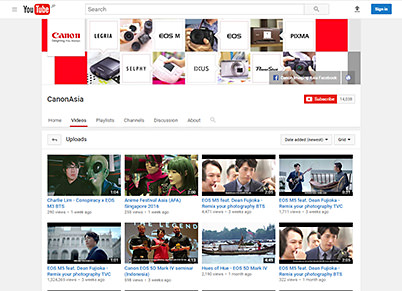
A Canon Image Gateway and YouTube account (both free of charge) are required to upload videos.
- It does sound a little troublesome...
Well, just a little. But you only need to do the setup once and for all, and after that, the steps are the same as those for uploading an image. It is a great advantage to be able to upload a video using only the camera. Even if you use your smartphone to shoot the video, uploading it can still be quite a hassle. But when you go on a group outing with your friends, I’m sure you’ll want to share any videos shot during the outing with them, won’t you? And on top of that, this feature also makes it really easy to share videos of my children with my parents.
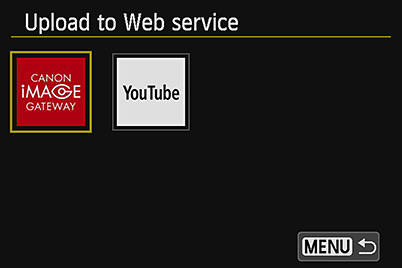
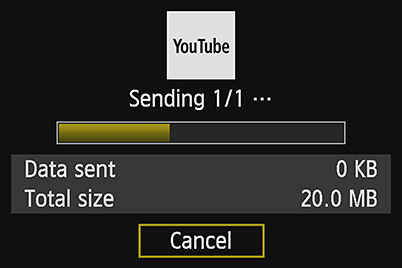
The Wi-Fi function provides a convenient way of uploading cameras directly from the camera*1. After uploading, the option of being able to set viewing restrictions to the video provide an ease of mind*2.
*1 Some camera models do not support uploading of videos to web services. For more information, please refer to the instruction manual of the camera model or Canon’s official website.
*2 The privacy setting of the movies you have uploaded can be altered on the YouTube webpage.
- My parents live far away from me, and it would be great if I could share my videos with them. I shall give it a go by creating a Canon Image Gateway and YouTube account.
Receive the latest updates on photography news, tips and tricks by signing up with us!

