


You’ve spent a whole day shooting high-contrast scenes but the photos didn’t turn out the way you wanted? Even with the right exposure, your photos might end up with blown-out highlights, flat shadows, or worse, both. But fret not, as this problem can be resolved with HDR processing.

Canon EOS 6D, EF35mm f/1.4L USM, f/5.6, ISO 100 by Andreas Samuelsson
You might have heard of HDR, but what does it mean? HDR stands for High Dynamic Range, a technique that lets you create stunning photos with amazing detail and clarity. Dynamic range refers to the difference between the brightest white and the darkest black you can capture in a photo.
How it works
HDR images are usually created by shooting three or more bracketed photos of the same scene, which basically means each image is shot at different shutter speeds or aperture combinations. The more contrast the scene has, the more shots you would need. What you get is a range of photos from dark to bright, depending on the light that enters the lens. A software is then used to blend all the photos for a final image that is as dynamic as the human eye can see.
What you need
Get a camera with an Auto Exposure Bracketing (AEB) function. If you decide to forgo this, you’ll then need to adjust your camera settings manually during shots. This means you’re more likely to move your camera – not only is it time-consuming, your subject might not be in the same position as before.
Don’t forget a tripod, to help align your shots in the processing stage, as HDR is not meant for things on the move. While certain HDR software provide image alignment capabilities, always ensure your shot is stable to begin with.
Finally, which HDR software should you choose? There are plenty available, including popular options such as Photomatix Pro, Luminance HDR and Photoshop. The key thing to note is that HDR software has a range of sliders that lets you adjust the tone-mapping effect to your preference.
When to use
Look out for scenes and subjects with a large contrast between light and dark areas. One good example is big landscapes with plenty of contrast between the sky and land. In this instance, HDR lets you capture details of the sky without compromising that of the land.

Canon EOS 6D, EF16-35mm f/2.8L II USM, f/2.8, 1/125, ISO 800 by Ken Thomann
Portraits on sunny days can be frustrating to shoot. Too much light on your subject’s face would result in dark shadows and glare – HDR is able to fix that to make your subject look better. Too much backlight? Use HDR to brighten up the foreground, without washing out the bright portions of your photos.

Canon EOS 5D Mark II, EF17-40mm f/4L USM, f/4.0, 1/250, ISO 640 by Patrick Criollo
Tips to get started
As much as possible, shoot in RAW format for more flexibility and range in your shots. That’s because JPEG images are heavily compressed to reduce file size, resulting in a loss of details.
At the end of the day, these tips merely offer a rough guideline on how you should start. Your best bet to mastering the art of HDR photography is to play around with different scenes and lighting. Practice definitely helps so go out there and start shooting!
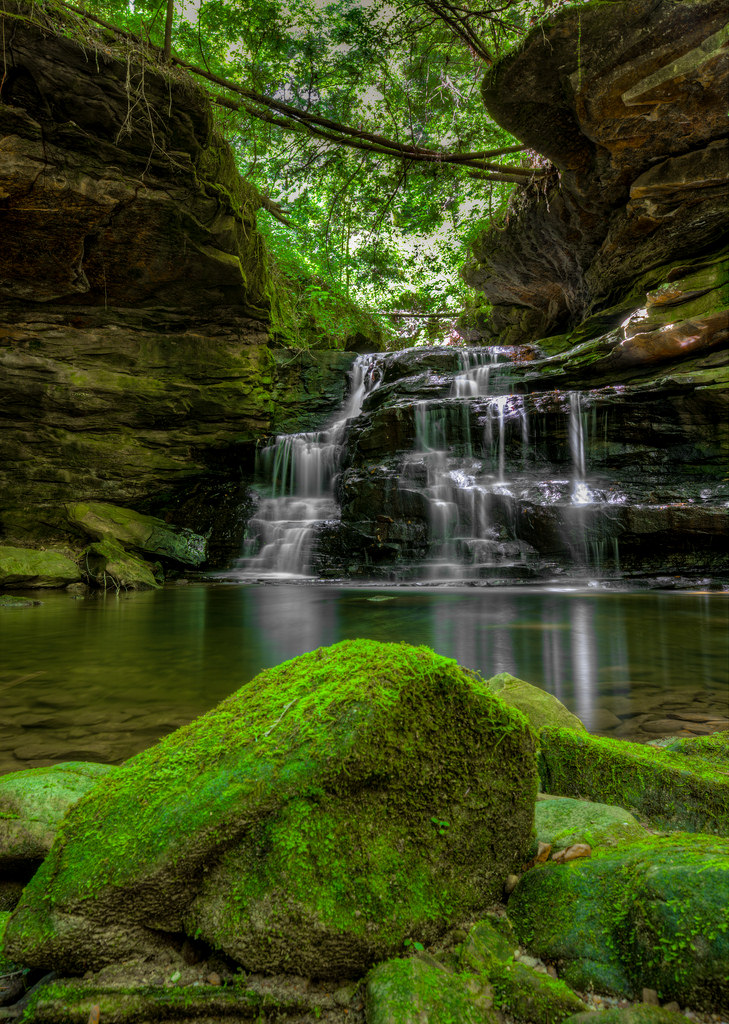
Canon EOS 5D Mark II, EF16-35mm f/2.8L II USM, f/16, 1/13, ISO 50 by Ken Thomann
|
|
Azmin Zainal Profile of writer Azmin Zainal has been in love with the written word ever since she could well, read. Relatively new to all things digital, so show her some love. Still searching for the meaning of life, whatever that is. Loves coffee, good conversations, fried chicken and Roger Federer. Not necessarily in that order. |


