We all want to look our best whether it’s for an upcoming wedding dinner, work presentation or a special date. While we’re busy picking the right outfit and choosing our makeup look, it’s so easy to forget about our nails. Give your nails some attention to glam yourself up for the occasion without the hassle of getting a professional manicure!

With the Canon Nail Sticker Creator app, you can personalise and embellish your nails with beautiful and intricate printable sticker designs at the comfort of your home without spending a fortune to replicate your favourite nail looks.
Here are some essentials you need to get started on your home DIY nail salon:
1. Canon PIXMA printer that supports nail sticker printing (TS9570, TS8270 or TS707)
2. Canon NL-101 Printable Nail Stickers
3. Nail File
4. Top Coat
5. Nail Scissors
6. Download the Canon Nail Sticker Creator app
a. iOS: http://po.st/CanonNailAppiOS
b. Android: http://po.st/CanonNailAppAndroid
After you’ve equipped yourself, follow these three steps.
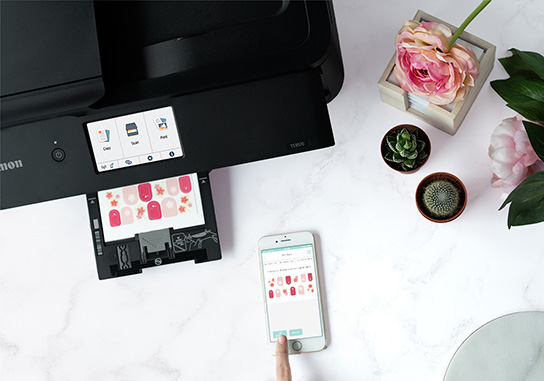
Step 1: Open the Canon Nail Sticker Creator app and pick a design

You’ll be greeted with a wide variety of specially curated designs ranging from intricate floral patterns to fancy, stained-glass inspired nail art to complete your entire look.

Choose from the existing designs available in the app or customise your very own nail design. Personalising your nail stickers is as easy as using pictures of your favourite pet. Or how about having some fun with selfies—the possibilities are simply endless!

Step 2: Printing the nail stickers
Select "Print" and the app will automatically search for the available printers. Find and tap your printer from the list. Tap "Start" and load the Canon NL-101 Printable Nail Stickers onto the multi-purpose tray and insert them into the printer. Press "OK" and let the printing commence!

Step 3: Stick ‘em on your nails

Before applying the nail stickers, ensure that your cuticles are clean, and your nails are nicely filed and shaped.
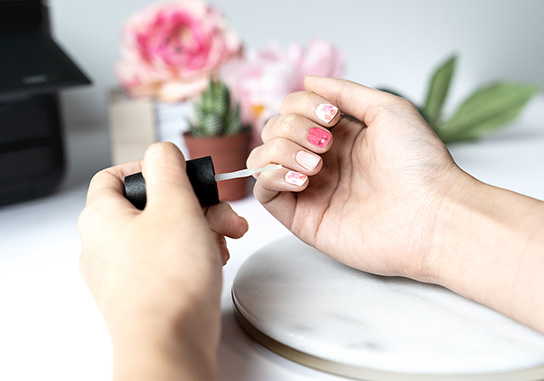
Be sure to pair each sticker to the right nails. Now, you can start sticking them on! Carefully peel and paste each sticker on your nails. The best way to do this is by giving it a light stretch and folding the ends downwards. Repeat this for the rest of the nails.
Then just buff away the edges and apply a thick layer of top coat to your nail stickers to seal it to your nails and wait for it to dry. Voilà, you’re done!

With over 100 designs to choose from the Canon Nail Sticker Creator App and the ability to create your own designs, you will never get bored of your nails.
For more information, visit http://asia.canon/stickers.
If you prefer to watch an instructional video, check this out:
Receive the latest update on photography news, tips and tricks.
Be part of the SNAPSHOT Community.
Sign Up Now!


