


Taking a great picture more often than not boils down to making use of lighting. By knowing how and making sure the lighting in your photographs matches up with the kind of picture you want to take, you can really improve your photography. Here are some tips to aid you.

1. Know your hard lighting and your soft lighting
The narrower and farther the light source, the harder the light; the broader and closer the source, the softer the light. Hard lighting increases shadow, increases contrast and highlights texture, while soft light does the opposite.

Shot using Canon EOS 6D
2. Learn how to diffuse
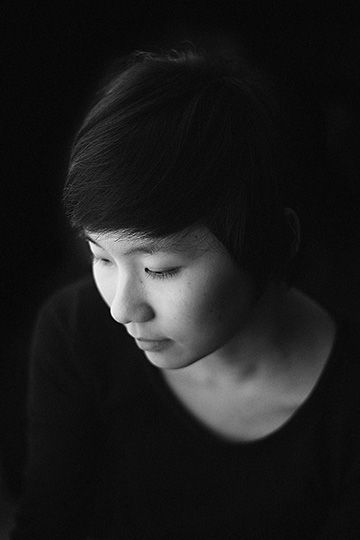
Shot using Canon EOS 6D
When you need to make your light source softer, diffusion helps scatter light. To do so, make use of materials such as translucent plastic or white fabric placed in front of your light source to soften it. Bouncing light also acts as diffusion. Aim your narrow light source at a broad matte surface – wall, ceiling or matte reflector – and the light will scatter over a wider area.
3. Direction of lighting helps play with texture
Front lighting de-emphasises texture; lighting from the side, above, or below emphasises it. When taking a portrait, front lighting can help suppress skin wrinkles; when taking pictures of landscapes, side lighting helps bring out the texture of rocks, foliage, etc. Generally, the greater the angle at which the light is positioned to the subject, the more texture is revealed.
4. Shadows create volume
To attain a semblance of three-dimensionality, lighting from the side, above or below casts deeper and longer shadows, which creates a sense of volume. This results in giving a sense of seeing an image as an object in space and not projected on a flat surface. Backlight can be used as highly diffused lighting and also deemphasises dimensionality.

Shot using Canon EOS 6D
5. Light has colour
Our eyes and brain are not sensitive to the colours of light, otherwise known as colour temperature. For example, the colour of early morning and late afternoon sunlight is warm in tone, while open shade at midday can be quite bluefish. Any surface that light bounces off can also add its colour. Use the white-balance control on your camera settings to neutralise colour casts or to emphasise them to achieve various effects you'd like on your pictures.

