A good photo of a drink in a glass immediately triggers the senses. Just by looking at it, you can know whether the drink is ice cold, if it’s sweet, or even get a sense of how refreshing it would taste. To achieve all this, photographers will need a few tricks up their sleeves.
In this SNAPSHOT article, Perth-based photographer Nora Peti shares how she captures photos of delectable drinks.
Plan before you even mix a drink
Before you even prepare your recipe, it’s important to plan.
Think about the final image you are looking for, the qualities of the drink you want to highlight, the lighting, and the props you will need. For props, drink ingredients are great. Nora suggests: “For a minimal scene, use a maximum of 2-3 additional props. Mix and match them to create eye-catching compositions.”
Exploring natural light

To achieve our main image, Nora used natural light on an overcast day. “These photos were taken on a cloudy day, but don’t let a cloudy day discourage you. In fact, those days are the best for drink photography because clouds work as a large softbox. Just move your setup close to the window.”
Many professional food photographers prefer shooting in natural light. It is neutral and helps retain the food’s natural colours in the final image.
Nora also notes that the low-noise performance of her Canon camera, even at higher ISOs, make additional artificial light unnecessary even on overcast days.
Backlighting against reflections
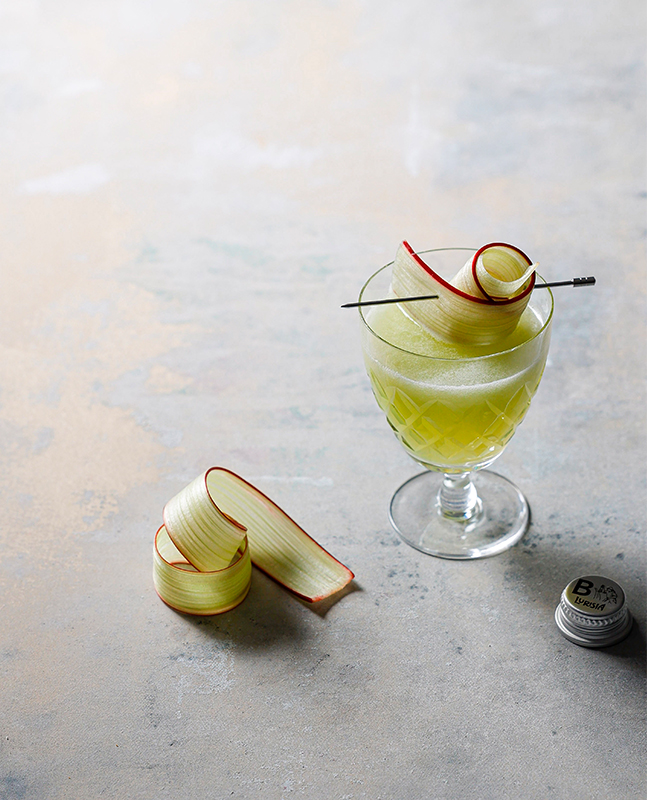
EOS R6, RF24-70mm f/2.8L IS USM, f/5, ISO 250, 1/100s, 70mm
When it comes to fighting harsh reflections in the photographs, backlighting is your friend.
By using the heavily diffused natural light from a window, there are also no harsh reflections off the shiny surface of the glass.
Backlighting also creates an interesting effect on the drink’s translucent quality. It reveals the colour of the drink beautifully and gives the viewer an idea of how thin or thick the liquid is.
Shooting cold drinks
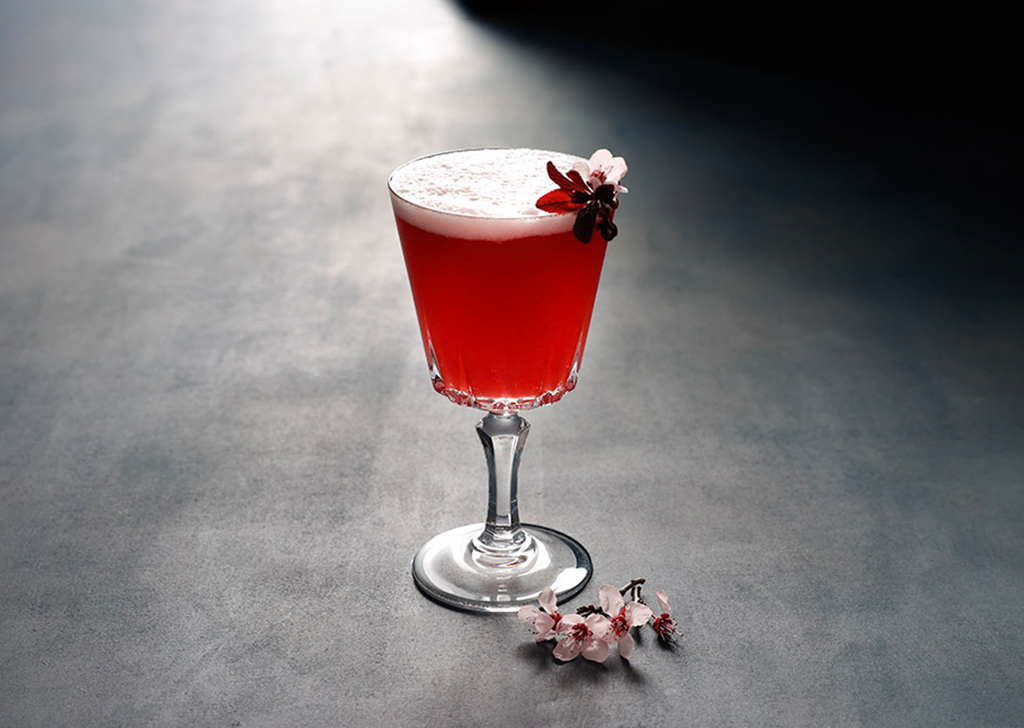
EOS R6, RF24-70mm f/2.8L IS USM, f/8, ISO 400, 1/40s, 58mm
When shooting cold drinks, there are a few more unique challenges to face. A very cold drink in a glass summons moisture in the air. This can create unsightly sweating of the container. A nice mist is good, but too much moisture can make the glass look messy.
Some easy tips when using real cold drinks is to refrigerate the glass and/or work in a colder room. That way, the glass won’t fog up as quickly when a cold drink is added.
When using real ice, Nora suggests using crushed rather than cubes: “It lasts longer so you can get more time to take awesome images.”
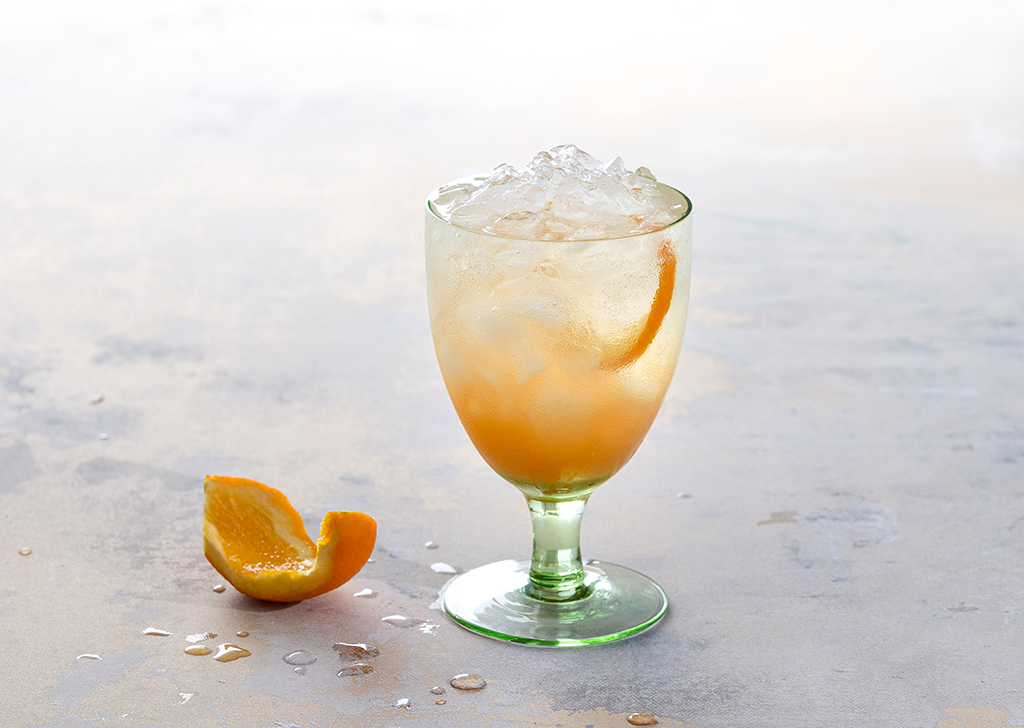
EOS R6, RF85mm f/2 MACRO IS STM, f/9, ISO 400, 1/100s, 85mm
How to use crushed ice:
- Fill up the glass or your drink container to the top
- Carefully pour the liquid halfway, then check if you should add more ice
- Continue filling up the glass to ¾ full
- As the ice melts, you will create a beautiful “ombre” effect inside the glass
Faking the cold
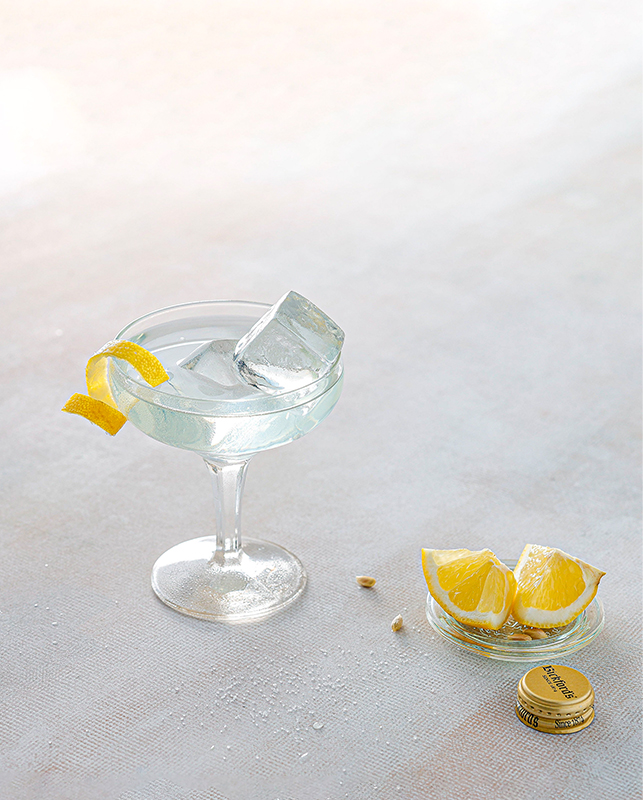
EOS R6, RF85mm f/2 MACRO IS STM, f/7.1, ISO 200, 1/40s, 85mm
For longer shoot days, Nora employs more tricks: “A great way is to use fake ice cubes and glycerine condensation if shooting for a brand”, she shares. “Fake ice cubes won’t dilute the drink, and the coldness is emphasised with fake condensation.”
Fake ice cubes can be stacked to make sure they float like real ice. In this example, Nora’s shallow glass made it easy to float the fake ice.
For that “natural-looking” moisture outside the glass, a mixture of glycerine and water mixture is used.
Glycerine is a clear, thick and sweet liquid. Water is used to thin it out a bit before it can be sprinkled to resemble moisture.
How to use glycerine for moisture:
- Set up your drink and fake ice cubes. It is important to spray both the ice cubes and the glass to make a more convincing image
- Try to avoid getting the glycerine mixture inside the glass by covering the top, open part when spraying the glass
- Once done with adding “mist” to the glass itself, cover the glass revealing only the top of the ice and spray again. You only need to add mist to the top part of the fake ice for a convincing image
Don’t waste good whiskey!
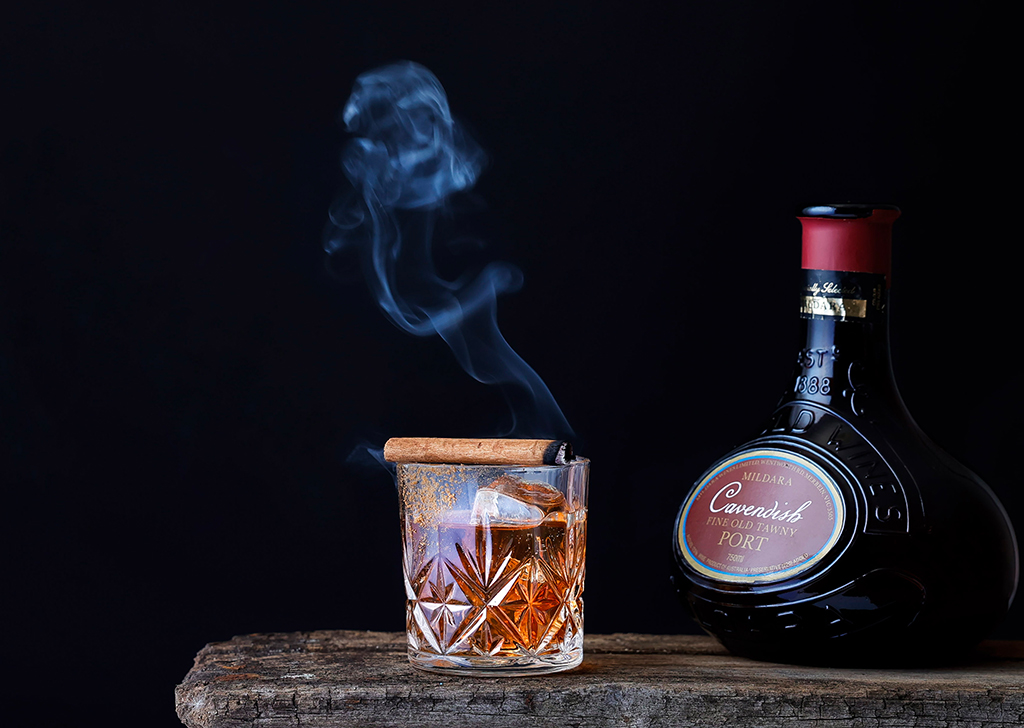
EOS R6, RF24-70mm f/2.8L IS USM, f/5.6, ISO 640, 1/50s, 70mm
When practising your drink shots, don’t waste good, expensive whiskey. Another trick Nora shared is using a combination of water and soy sauce to create that perfect, oak-y whiskey shade.
Let it smoke
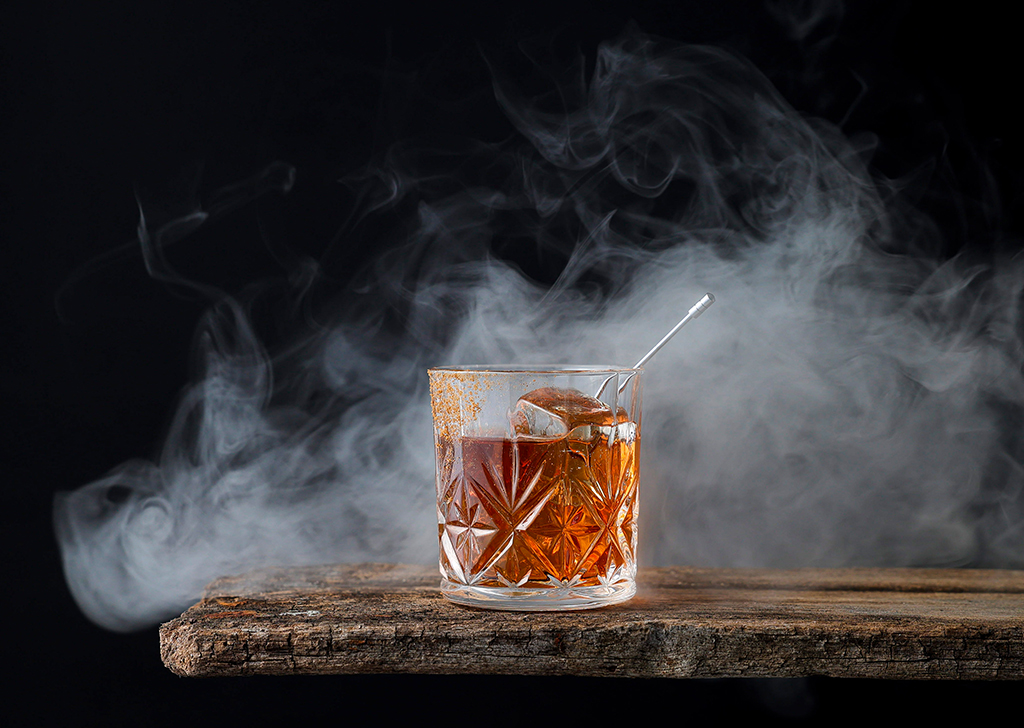
EOS R6, RF24-70mm f/2.8L IS USM, f/5.6, ISO 250, 1/100s, 70mm
Smoke is a great way to add another layer of character to your image. It can relay the temperature if you’re shooting a hot drink, a smoky flavour, or an exotic flair to an image. “The masculinity of the drink is emphasised by the smoke,” says Nora.
The natural light coming from the window and the black background captures the upward flight of the smoke from the cinnamon bark. Fake ice cubes and cinnamon dust add a kick to the image.
An even smokier and moodier shot was achieved by using a smoke machine.
Through a simple natural light set-up with a few tricks up her sleeve, Nora’s work proves just how beautiful cocktail images can be. Take her advice and images as inspiration and get your favourite cocktails and beverages captured in a beautiful photoshoot.
For similar articles:


