


3 Important Points to Care For Your Underwater Photography Equipment
Taking care of your camera and underwater equipment is just as important as getting a good photo. Learning how to do so will allow the equipment to serve you for the years to come. Professional underwater photographer William Tan teaches us how to maintain our equipment from setting up to after a dive trip.

1. Setting up your camera
Before your first dive, it is advisable to service your o-rings on your camera housing and torches/strobes. Follow these steps to ensure thorough cleaning and maintenance:
Step 1:
Gently pick out the o-ring from the groove it sits in, inspect the groove for sand, hair or other debris, and clean it with a lint-free cloth (combining alcohol and toothbrush is great for cleaning areas that are difficult to reach, but note that alcohol has a damaging effect on some plastic, which is why it is not advisable to apply alcohol on plastic or your o-rings).
Step 2:
Wash the o-ring using running water to get rid of sand, hair and dirt.

You will be surprised by the amount of hair and dirt your o-ring attracts
Step 3:
Coat the o-ring lightly with o-ring grease (use the recommended type of grease to prevent the silicon o-ring from expanding), and then place it back into the groove. The reason for applying grease to the o-ring is to help it move effectively within the groove, so that pressure can spread out evenly, forming a tight seal to keep water out.

A correct silicon grease will ensure your o-ring stays in prime condition for many years
Step 4:
Inspect the o-ring and the gap in the groove for any particles and remove them accordingly.
Step 5:
Inspect the other surface that comes into contact with the o-ring that forms the seal. Remove any sand, hair or debris, if any. Lightly grease this part, and then close the seal.
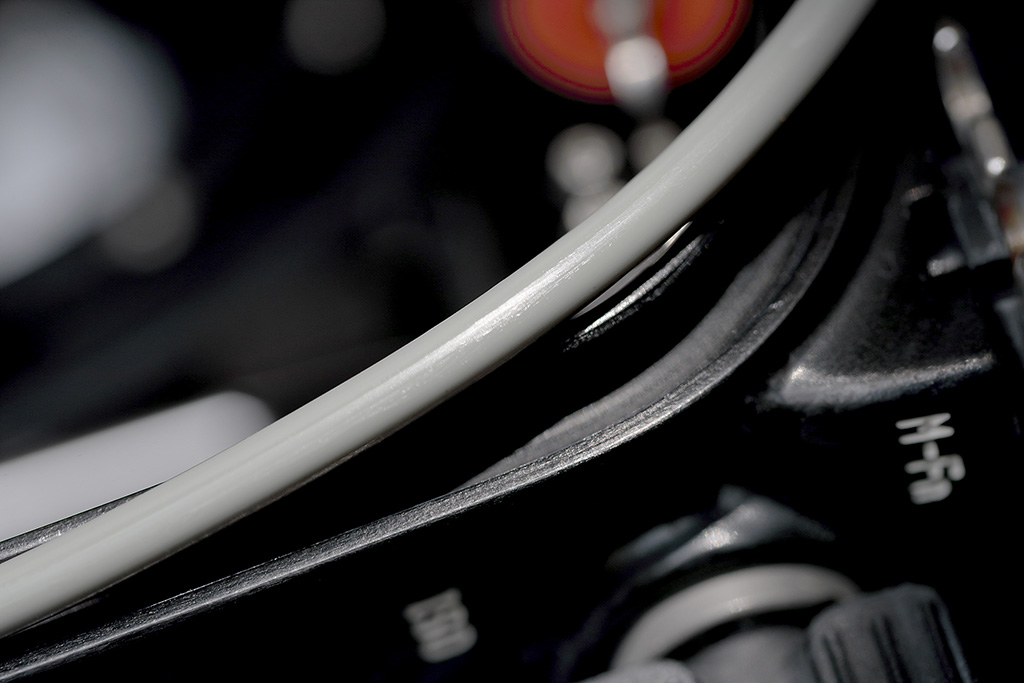
A cleaned o-ring and groove
Step 6:
If your camera housing comes with a vacuum indicator, use it to pump out air from within to form a tighter seal. If it comes without, submerge your setup in freshwater tank before the dive, and inspect for continuous streaming bubbles, which is a telltale sign of leaking.

Now that you are ready for your dive, make sure that you know how to enter the water safely with your camera to prevent any damages before your adventure.
2. Right after your dive
It is imperative that one pays special attention to the equipment after each dive to prevent any damages such as saltwater corrosion.
Step 1:
If a freshwater tank is available, soak your setup in freshwater. This helps to dilute the saltwater trapped within the o-ring grooves and buttons. If the boat comes with a freshwater shower, flush your setup gently with it (warm water dissolves salt more effectively than room temperature water). If there is no freshwater available, use a damp cloth to wrap around your setup to delay the formation of salt crystals as your housing dries up.
Step 2:
Use a blower to remove water trapped within the buttons.

Blowing out water trapped in awkward places within the housing
Step 3:
Dry the surface of your port and viewfinder. This is to prevent the forming of permanent watermarks.
Step 4:
When you break your seals to change lenses or batteries, always service these o-rings once more.
3. After your dive trip
Always repeat the maintenance process in point 2 after your dive trip. Make sure that there is no salt crystals formed on your equipment before putting them away until your next underwater photography adventure. For long term storage, you can consider placing your greased o-ring into a separate airtight bag and store your camera housing together to minimise dust and dirt from entering.

Proper maintenance is necessary after every dive
Get additional tips like learning how to make your colours pop underwater, or the crucial settings you’ll need to ensure sharp photos underwater. If you are looking for a camera for your dive trip, consider the PowerShot G1 X Mark III, the first compact camera to feature Dual Pixel CMOS AF system for fast and accurate focusing, or an EOS 5D Mark IV, a game-changer in underwater photography.
Receive the latest update on photography news, tips and tricks.
Be part of the SNAPSHOT Community.
Sign Up Now!

