


Finding your way around the controls and functions on your mirrorless camera is your first step to photography beyond simple point-and-shoot. Here’s our guide to the essential parts of the camera and what they do.

Front

F1: Shutter button
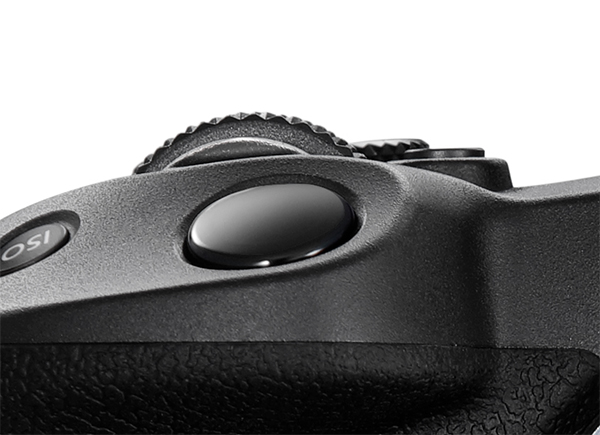
Press this button to release the shutter.The shutter button press has two stages: Half-pressing the button activates the AF (autofocus) and exposure metering functions, while pressing it down fully releases the shutter.
F2: AF-assist beam and red-eye reduction/self-timer/remote control lamp
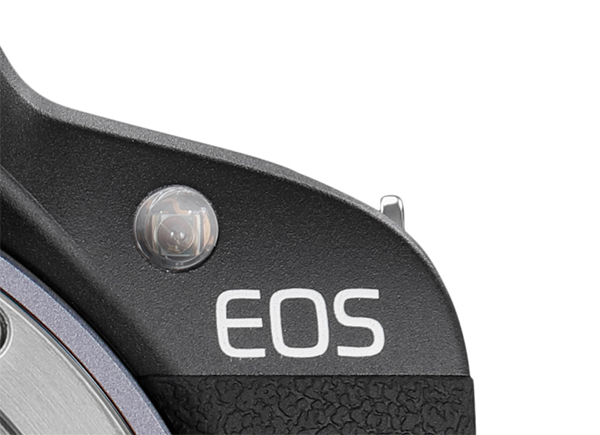
AF-assist beam: Enabled by default, this lamp emits a red beam to help AF detection in certain situations. It is automatically turned off in Silent Shooting mode.
Red-eye reduction: If red-eye reduction is enabled on your camera, half-pressing the shutter button will light up this lamp when you use the built-in flash.
Self-timer: When you set the self-timer, this lamp will blink for the timer’s duration until the picture is taken.
F3: Lens mount
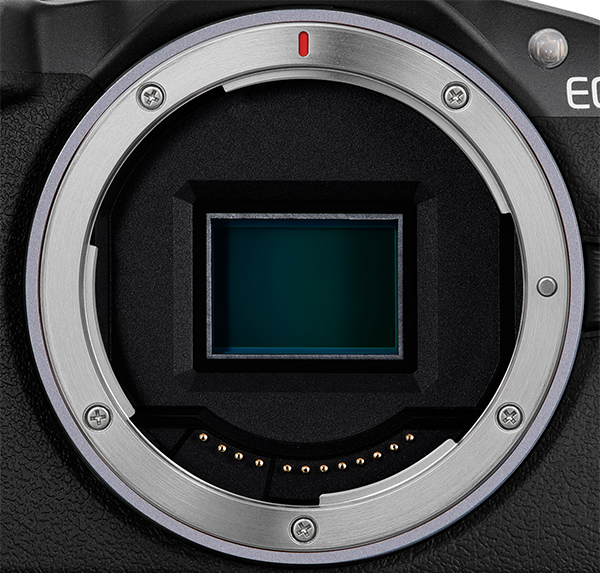
This is the section that connects the RF or RF-S lens to the camera body. To attach the lens, you line up the lens mount index on the lens with the red mark on the lens mount and turn the lens clockwise until you hear a click.
Read more about the differences between the RF and EF mount systems in:
RF Lenses vs EF Lenses: What's the Difference and How to Decide?
F4: Lens release button
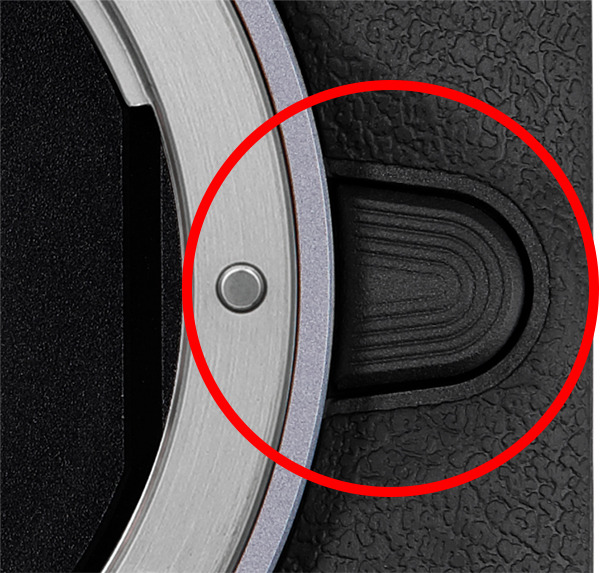
Press this button when you want to detach the lens. The lens lock pin retracts when the button is pressed, enabling you to turn the lens freely. Before shooting, lock the lens into place by turning it until you hear a click.
F5: Lens mount contacts
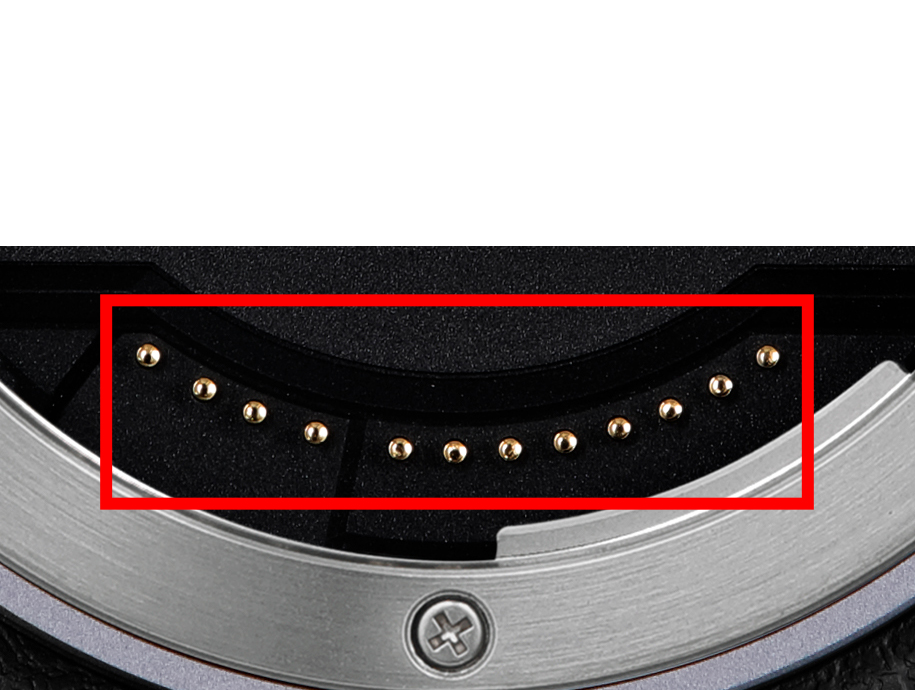
These are electrical contact points that transmit information between the lens and camera body. Be very careful not to scratch or damage them! The RF mount’s high-speed, high-transmission 12-pin system enables more sophisticated communication and functionality compared to the 8-pin EF (Canon DSLR) lens transmission system.
F6: Image sensor
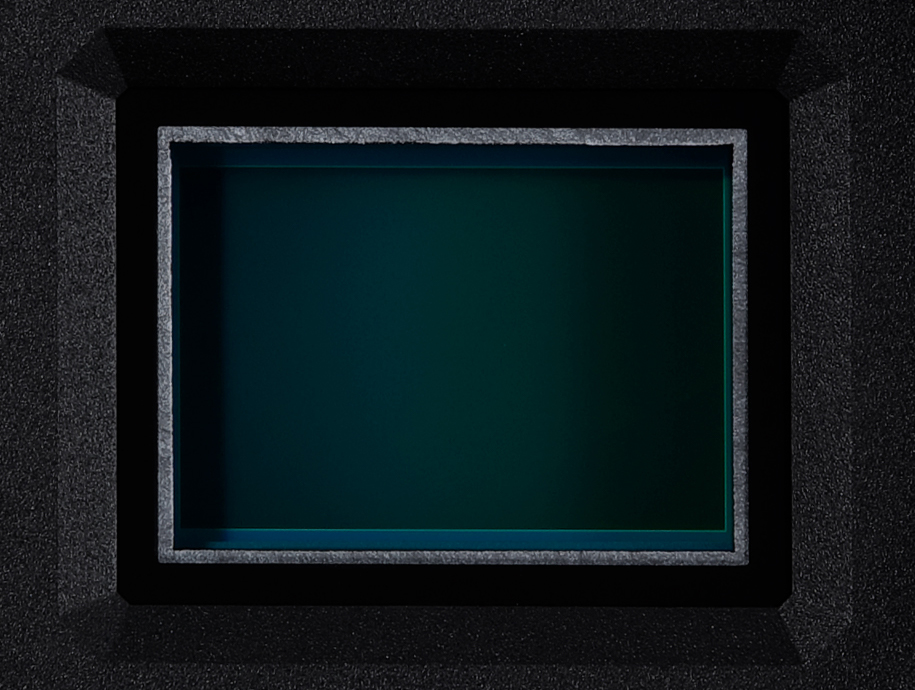
The image sensor converts light entering the lens into electrical signals. These signals (light information) are sent to the image processor for analysis. Besides image-making and exposure control, the information is also used for autofocusing under the Dual Pixel CMOS AF system.
F7: Sensor protection mechanism (selected cameras)
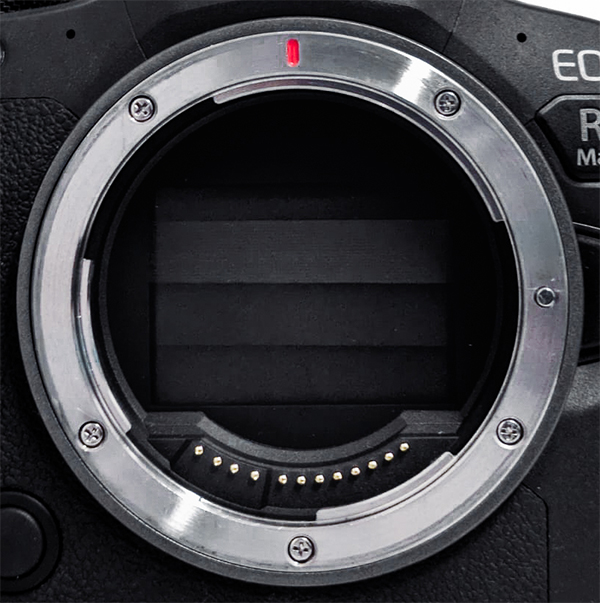
On some advanced camera models, a shutter mechanism closes over the image sensor when the camera is powered off. This helps protect the camera from dust when changing lenses.
F8: Built-in flash (selected cameras)
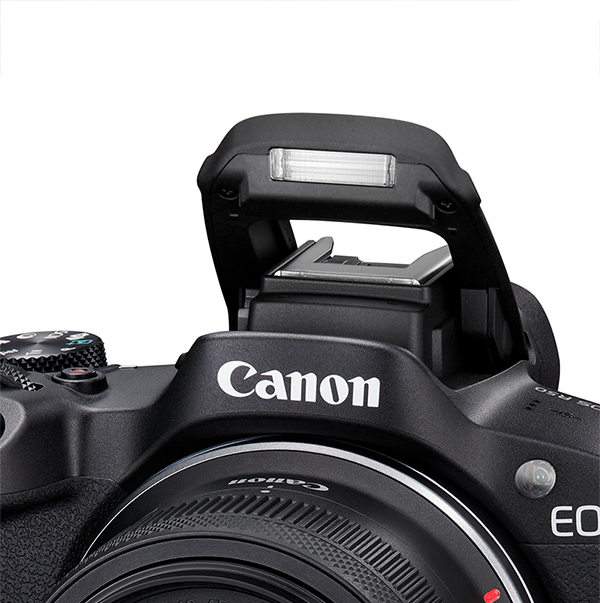
When needed, you can fire the flash to capture a shot in a dimly lit scene. The flash may be automatically fired in some modes.
Here are some tutorials on how to use your built-in flash to achieve interesting effects:
Flash Techniques #1: How to Deal with Harsh Shadows Caused by Backlight
Flash Techniques #6: How to Create Magical Bokeh Circles on a Rainy Day
Rear

R1: Eyecup
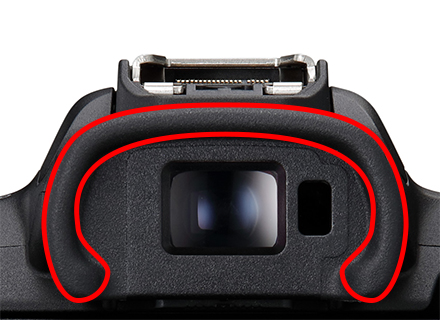
The eyecup prevents external light from entering when your eye is in contact with the eyepiece. A soft material is used to reduce the burden on the eye and the forehead.
R2: Viewfinder eyepiece
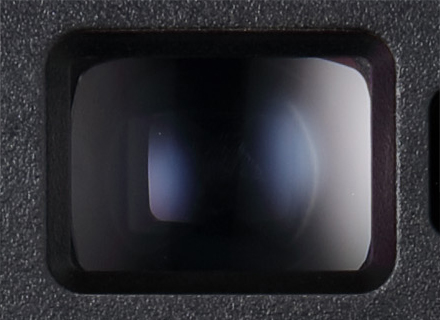
The viewfinder eyepiece is a small window on the camera that you look through to compose your photo and establish focus on a subject. When shooting using a viewfinder, external light is reduced. This allows you to put full attention on the subject right before your eyes, which in turn makes it easier to track moving subjects.
Read more about viewfinders here: Camera Basics #12: The Viewfinder
R3: Viewfinder sensor
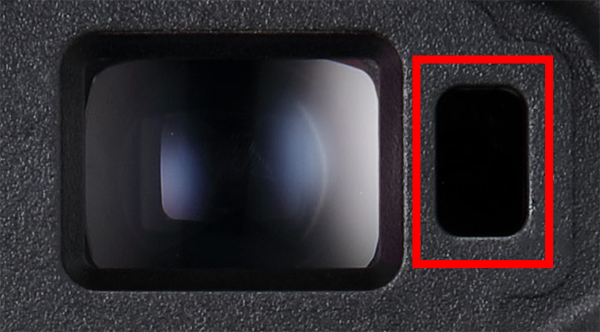
The viewfinder sensor senses when your eye is near the viewfinder and activates the viewfinder display accordingly. You can also restrict the display to only the viewfinder or LCD screen using the menu settings.
R4: Dioptric adjustment knob/slider
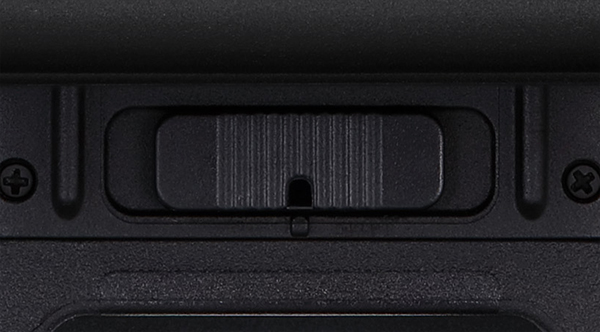
Turn or slide this knob/slider to adjust the clarity of the viewfinder image.
R5: AE lock/FE lock/magnify button

AE lock: Pressing this button locks the exposure settings so they don’t change even when you recompose and refocus the shot. This works well together with spot metering mode when shooting in backlight and high-contrast situations.
FE lock: When you are using a flash, pressing this button locks the flash output so that it doesn’t change even when you change the composition.
Magnify: In playback mode, press this button to magnify the display. This is good for checking details and focus.
R6: AF point selection/index button
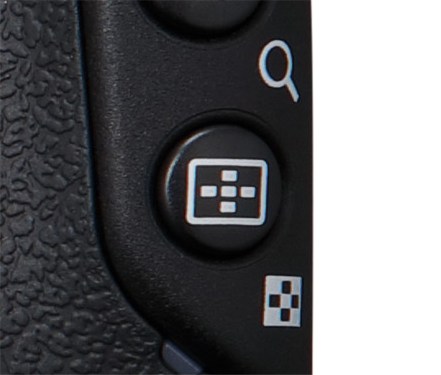
Use this button to go into AF point (autofocus) selection mode during AF shooting. You can move the AF zone/area using the cross keys.
R7: Access lamp
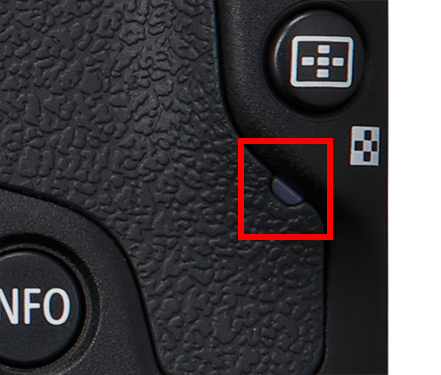
When this lamp blinks red, the camera is writing to the memory card. Do not open the card slot or battery compartment cover when you see this, as it may cause the camera to malfunction.
R8: Info button
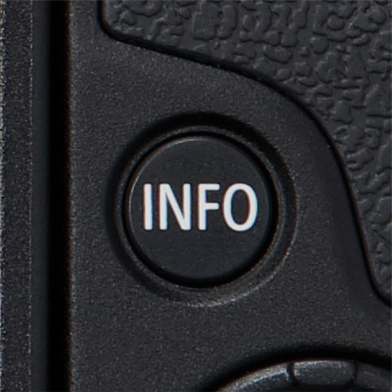
Press this button to toggle between different viewfinder/Live View/playback display screens. You can customise the viewfinder/Live View displays in the menu settings.
R9: Cross keys
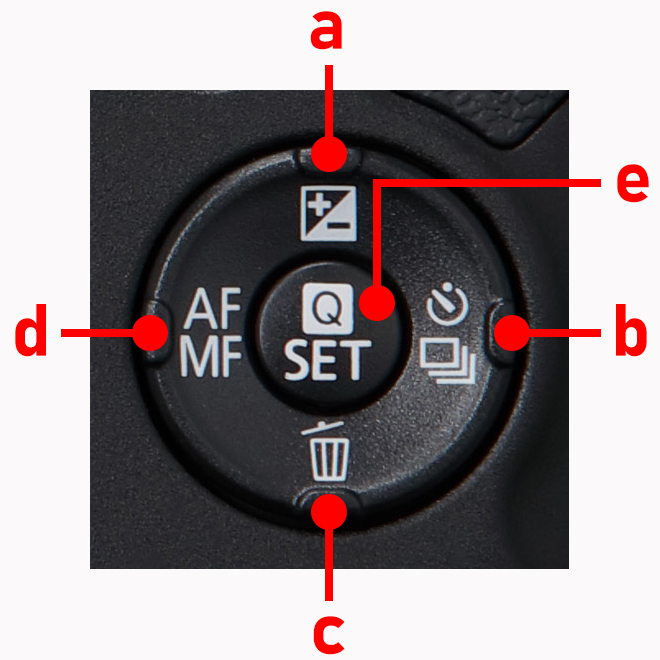
a) Up/ Exposure compensation
b) Right/Self-timer/Drive mode selection button
c) Down/Delete button
d) Left/AF/MF button
e) Quick Control/Set
Cross keys: These are directional buttons that allow you to:
- Move between menu items
- Move a magnified display to a different point during image playback
- Move the AF point during AF point selection
In shooting mode, the functions of the keys switches to the ones indicated by the icon on it.
Quick Control/SET button: Pressing this button displays the Quick Control screen, which allows you to confirm various camera settings at one glance and adjust them.
R10: Playback button
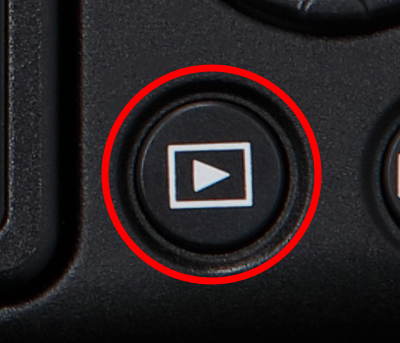
This is the button for playing back images you have captured. Pressing the button once displays the last image you captured or showed.
R11: MENU button
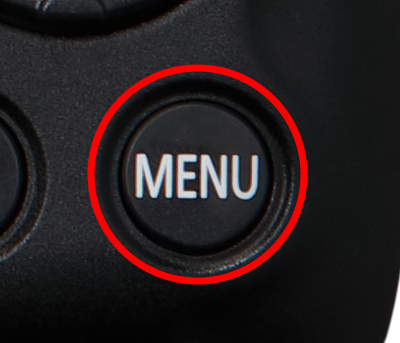
Use this button to display the menu for adjusting the different camera functions. After selecting a menu item, you can adjust the camera settings in greater detail.
R12: LCD monitor

The rear LCD monitor lets you preview and review images and change camera settings. Most EOS R camera models have a Vari-angle LCD touchscreen monitor, which can be flipped out and rotated to capture self-portraits, low-angle, and high-angle shots more easily. The touchscreen allows intuitive camera operation including touch and drag AF control.
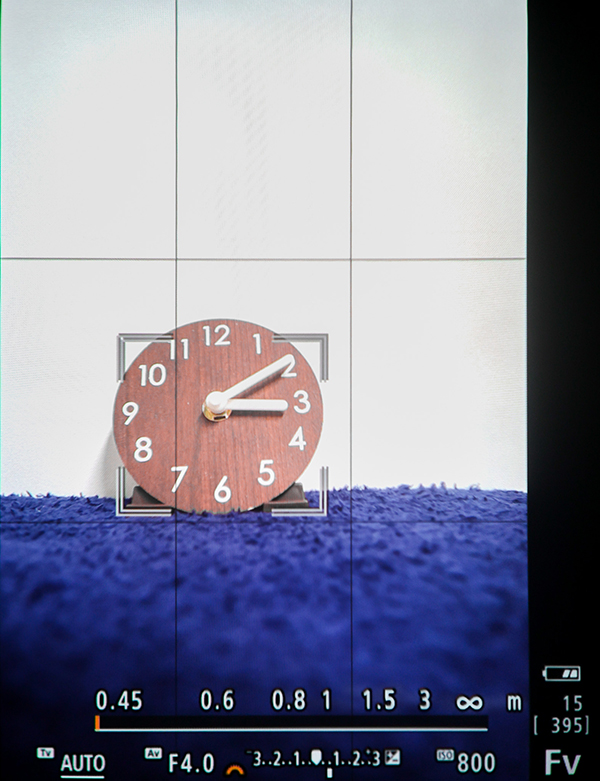
Know this: Viewfinder and Live View displays

The electronic viewfinder and Live View displays have the potential to show a lot of shooting information. Here’s a guide to the basic information that can be displayed in the rear monitor. Similar information is displayed in the electronic viewfinder.
V1: Shooting mode

Displays the text or icon corresponding to the shooting mode you have selected.
V2: Number of shots

The number in the brackets indicates the number of remaining shots that can be captured. The number varies with the capacity of the memory card in use as well as the image-recording quality you have selected.
V3: Maximum burst

This number indicates the maximum number of shots you can take during continuous shooting before the camera’s buffer fills and it becomes temporarily unable to take new shots as it writes to the card.
V4: Available video recording time

This duration depends on your video recording settings as well as your memory card. When you start recording, it changes to the time elapsed.
V5: Battery level

This icon displays the remaining battery level. Here, the battery is about 50% full.
V6: Shutter speed

Indicates the time interval during which the shutter is open.
Find out more about shutter speed in: Camera Basics #2: Shutter Speed
V7: Aperture value

This value indicates the extent to which the aperture blades inside the lens are open. A smaller value means the aperture is more widely open, which allows more light to be captured. The selectable aperture value range varies according to the lens in use.
Learn more about aperture in: Camera Basics #1: Aperture
V8: Exposure compensation/exposure meter

In full manual (M) mode, this shows how much the image is over- or under-exposed according to the camera-metered “correct exposure”. In Av, Tv, and P modes, or M mode when ISO Auto enabled, this shows the exposure compensation, which you can adjust to intentionally over- or under-expose your shots.
V9: ISO speed

The ISO speed setting varies constantly when the Auto setting is selected. A higher ISO speed makes it easier to capture shots of a dimly lit scene.
You can find more information about ISO speed in: Camera Basics #5: ISO Speed
V10: Focal length

Indicates the focal length that you are shooting with.
V11: AF coverage /frame
Indicates the position of the focusing frame during AF (autofocus) shooting. This is the frame in Flexible Zone AF mode. It may look different in some other modes.
Know this: Vertical VF display
During vertical shooting, the information on your viewfinder display rotates accordingly. You can toggle through different information displays by pressing the INFO button on your camera.
Also see #1 in 5 Ways to Make the Most of the EOS R
Top

T1: Microphone
This is a built-in microphone for capturing the audio sound during movie recording. The microphone used may be monaural or stereo depending on the camera model.
T2: Speaker

Audio sound of a recorded movie can be played back through the speaker. During movie playback, you can adjust the volume by pressing the up or down cross keys.
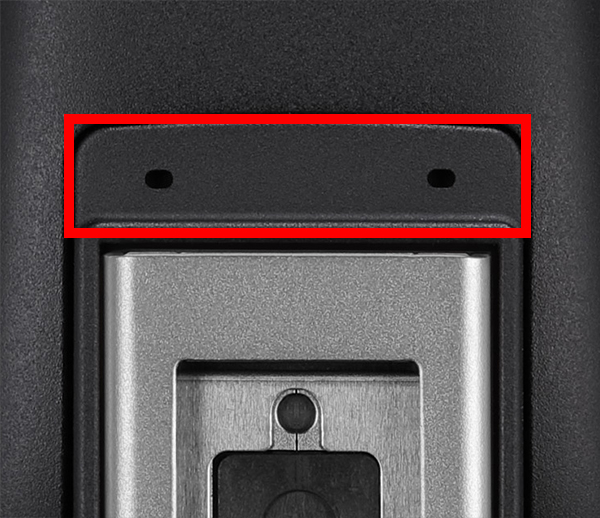
T3: Strap mount
Pull the end of the strap through the eyelet, and secure it firmly while ensuring that the two ends of the strap are well-balanced.
T4: Multi-function shoe
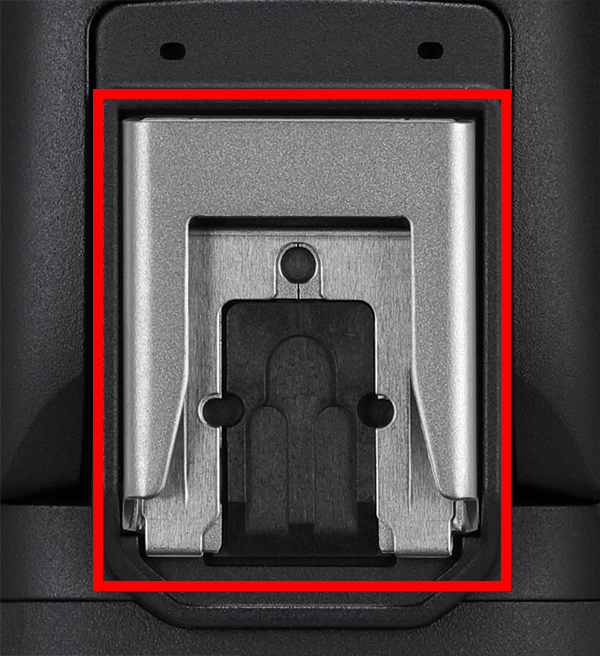
Most Canon cameras released from late 2021 onwards have 21-pin multi-function shoe, which offers advanced functionality compared to a conventional hot shoe. You can use it to attach compatible accessories such as an external flash or audio equipment.
T5: Mode dial
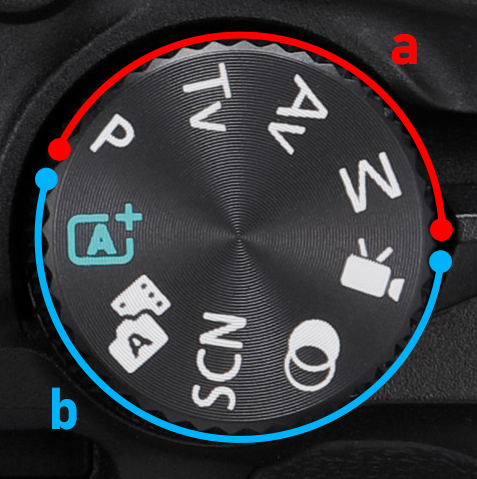
Turn this dial to select a shooting mode according to the scene you want to capture.
a: Traditional exposure modes
These give you the flexibility to configure camera settings like exposure and white balance according to your shooting intent.
b: Automatic modes
In these modes, the camera automatically selects the appropriate settings for the scene or your chosen effect. You can use it to unleash your creativity without worrying about technicalities!
T6: Power switch
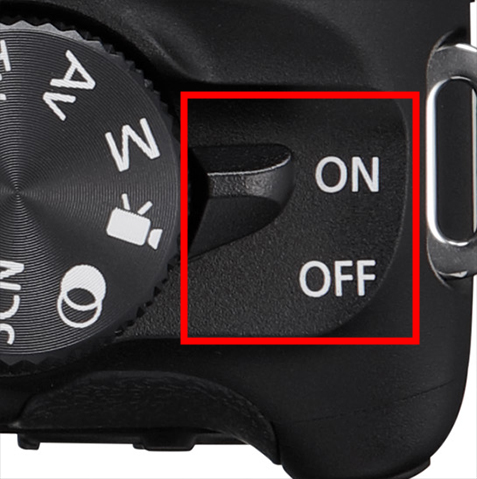
Use this switch to power on or power off the camera. When the power of the camera is left on for a prolonged period of time, it switches automatically to the standby mode to conserve power.
T7: Movie shooting button
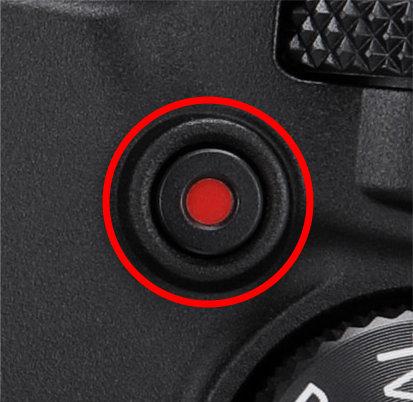
Press this button to start video recording. This also lets you record videos while in a still shooting mode.
T8: Electronic dial
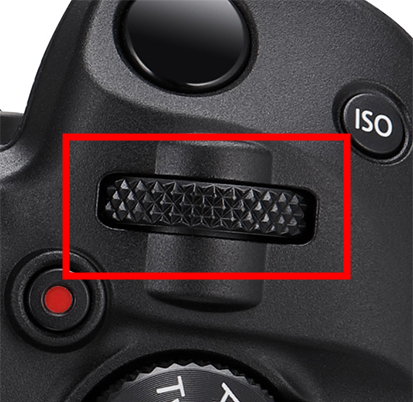
This is a multi-purpose dial that allows you to perform tasks such as adjusting the value of the shooting settings (usually aperture/shutter speed/exposure compensation) and jumping through playback images.
T9: ISO speed setting button
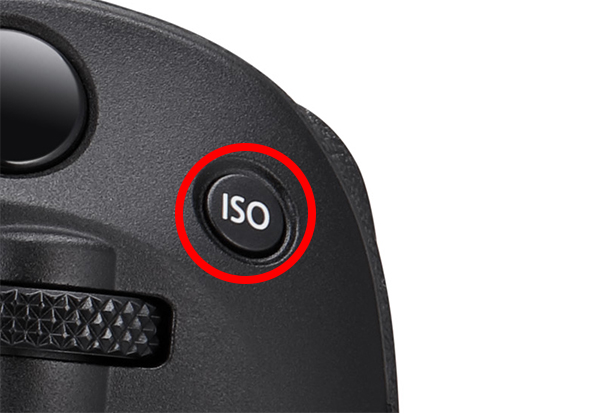
Press this button to adjust the sensitivity of the camera toward light. ISO speed is an international standard that is determined based on the sensitivity of negative films.
T10: Zoom ring
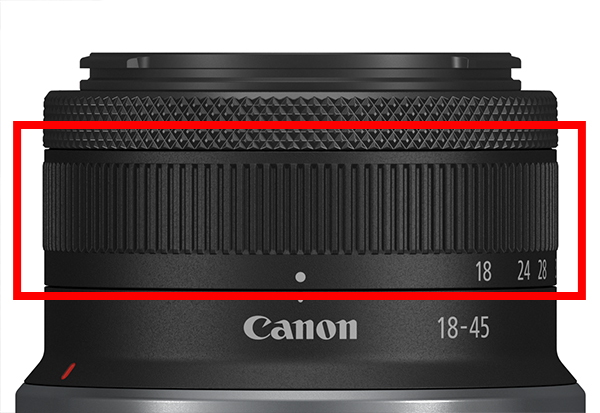
Turn the zoom ring to alter the focal length. The selected focal length can be identified from the numbers and index marks at the lower end of the lens.
T11: Control/Focus ring
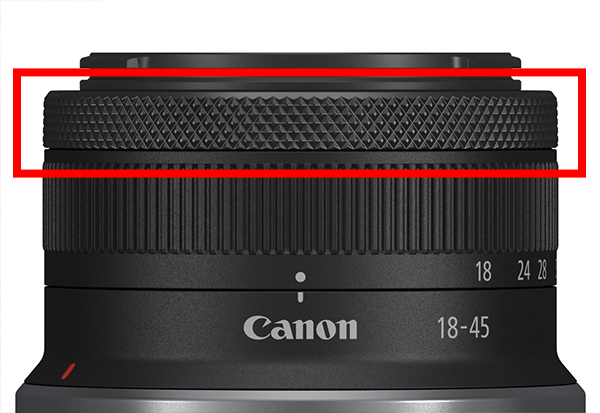
This ring with a knurled texture can be programmed to control an exposure setting of your choice, such as exposure compensation or aperture. On some lenses like the RF-S18-45mm f/4.5-6.3 IS STM shown here, it becomes a focus ring for manual focusing at the flip of a switch.
Sides

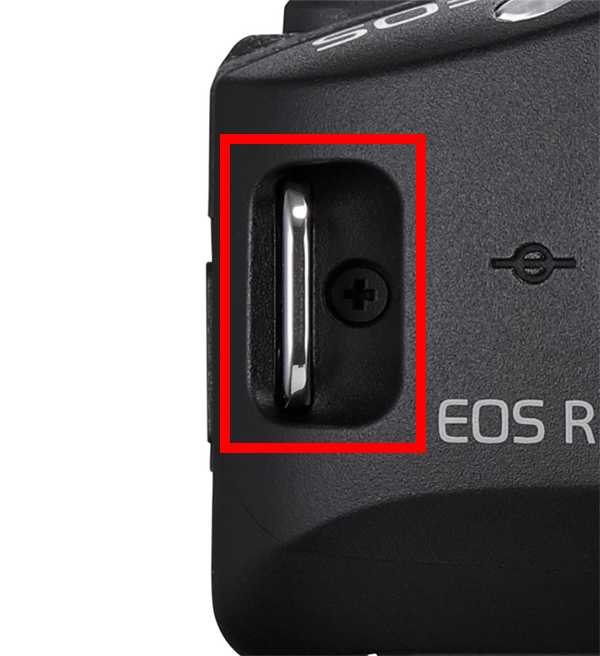
S1: MIC terminal
This lets you plug in an external microphone for audio recording.
S2: Digital terminal
Recent cameras have a USB-C terminal for data transfer/in-camera charging.
S3: HDMI micro OUT terminal
For video output to an external recorder, etc.
Bottom

B1: Card slot, Battery compartment
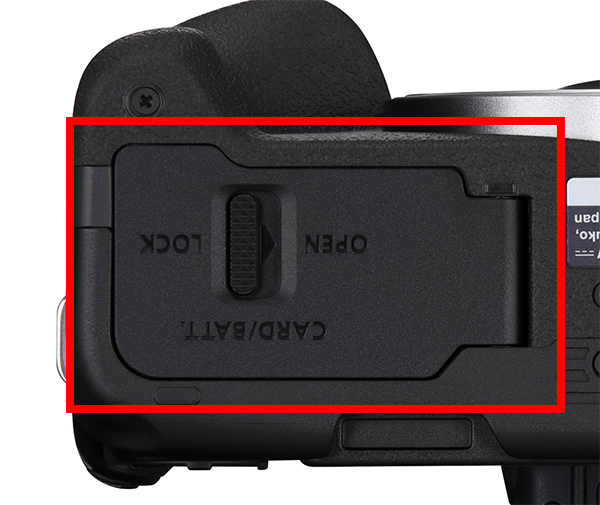
Battery compartment
Load the supplied battery here. Insert the battery with the orientation of the battery terminal aligned with that inside the camera.
Card slot
Insert the memory card for recording images into this slot. The type of card usable varies with the camera model.
B2: Tripod socket
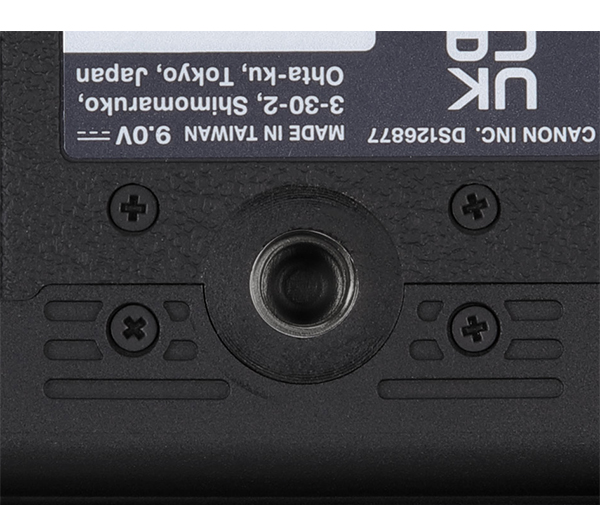
This is a socket placed at bottom of the camera body for attaching the camera to a tripod. On most Canon DSLR and mirrorless cameras, this socket fits the 1/4-20 UNC standard screw thread size, which is used by most conventional tripods.
And there you have it—these are the key parts of a Canon mirrorless camera and what they do. The next step is to start shooting: Check out our Tips & Tutorials in the menu above for some ideas on how to start. To continue reading about key concepts and theories, you could also check out our Camera Basics or Lens Basics series.
Happy shooting!

