


How to Set Up a Mirrorless Camera for an Underwater Photoshoot
When shooting underwater with a mirrorless camera, there are many things to consider. From choosing the ideal shooting mode to lighting options and using flash, this infographic gives insight into setting up a mirrorless camera for an underwater shoot.
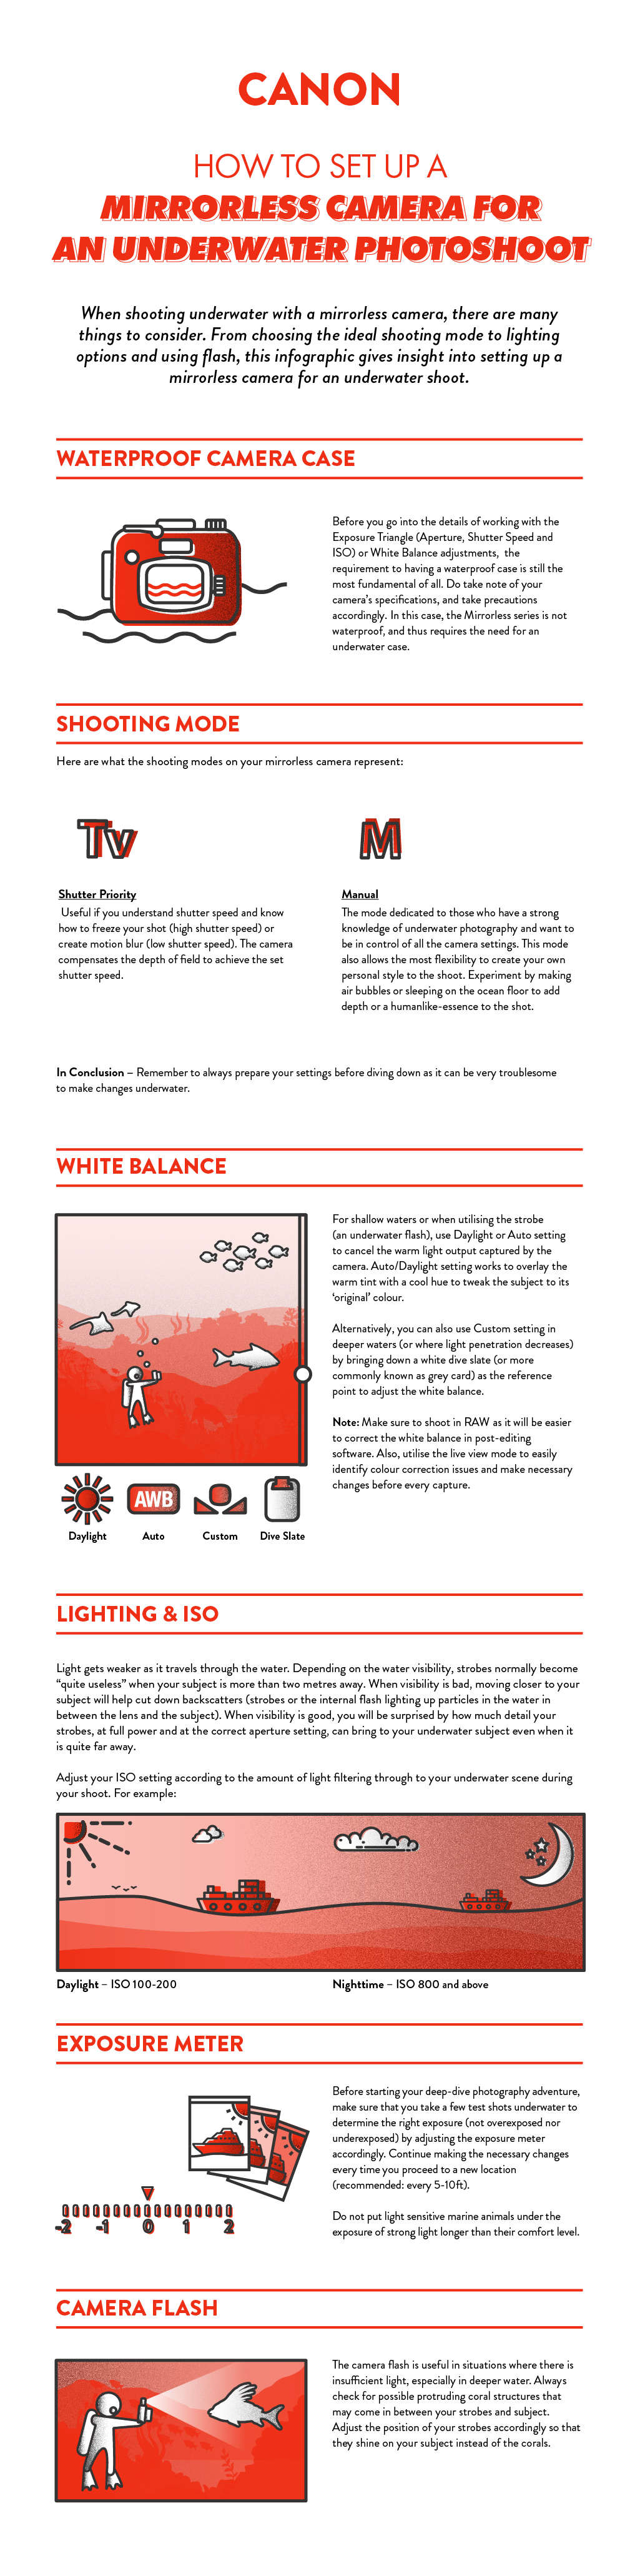
Waterproof Camera Case
Before you go into the details of working with the Exposure Triangle (Aperture, Shutter Speed and ISO) or White Balance adjustments, the requirement to having a waterproof case is still the most fundamental of all. Do take note of your camera’s specifications, and take precautions accordingly. In this case, the Mirrorless series is not waterproof, and thus requires the need for an underwater case..
Shooting Mode
Here are the recommended shooting modes you can use for underwater photography:
Shutter Priority: Useful if you understand shutter speed and know how to freeze your shot (high shutter speed) or create motion blur (low shutter speed). The camera compensates the depth of field to achieve the set shutter speed.
Manual: The mode dedicated to those who have a strong knowledge of underwater photography and want to be in control of all the camera settings. This mode also allows the most flexibility to create your own personal style to the shoot. Experiment by making air bubbles or sleeping on the ocean floor to add depth or a humanlike-essence to the shot.
Note: Remember to always prepare your settings before diving down as it can be very troublesome to make changes underwater.
White Balance
Adjusting the white balance is to correct the colour temperatures so that the captured image will depict a close replica of what is seen through the human eye. White balance can come in different options, including: Auto, Daylight, Shade, Tungsten, Flash, Custom, Colour Temperature and more. Each has its own unique characteristics - but for underwater shoots, we would recommend either the Auto, Custom or Daylight setting depending on the depth of your submerged location.
For shallow waters or when utilising the strobe (an underwater flash), use Daylight or Auto setting to cancel the warm light output captured by the camera. Auto/Daylight setting works to overlay the warm tint with a cool hue to tweak the subject to its ‘original’ colour. Alternatively, you can also use Custom setting in deeper waters (or where light penetration decreases) by bringing down a white dive slate (or more commonly known as grey card) as the reference point to adjust the white balance. As a reference, here are some WB settings you can use at specific depths of your dive:
For shallow waters (or near the surface): Daylight setting or 5200K
For 5 - 15 metres deep: Cloudy setting or 6000K
For 15 - 25 metres deep: Shade setting or 7000K
However, the above examples are only suitable for a specific scenario as white balance depends on the weather, the sunlight strength and the colouration of the ocean. If there is a blueish tint to your image, manually adjust your white balance to 7500K. Keep checking on your White Balance whenever you move to a different location or depth of the water.
Note: Make sure to shoot in RAW as it will be easier to correct the white balance in post-editing software. Also, utilise the live view mode to easily identify colour correction issues and make necessary changes before every capture.
Lighting & ISO
Light gets weaker as it travels through the water. Depending on the water visibility, strobes normally become “quite useless” when your subject is more than two metres away. When visibility is bad, moving closer to your subject will help cut down backscatters (strobes or the internal flash lighting up particles in the water in between the lens and the subject). When visibility is good, you will be surprised by how much detail your strobes, at full power and at the correct aperture setting, can bring to your underwater subject even when it is quite far away.
As ISO is not as important as Shutter speed or Aperture in underwater photography, adjust your ISO setting according to the amount of light filtering through to your underwater scene during your shoot. If the image appears to be overexposed, tone the ISO down, or amp it up when it is underexposed. ISO will vary depending on your location, flash and strobe light strength. Therefore, make it a habit to check back on your ISO setting every once in a while.
Exposure Meter
Before starting your deep-dive photography adventure, make sure that you take a few test shots underwater to determine the right exposure (not overexposed nor underexposed) by adjusting the exposure meter accordingly. Continue making the necessary changes every time you proceed to a new location (recommended: every 5-10ft).
Camera Flash
The camera flash is useful in situations where there is insufficient light, especially in deeper water. Always check for possible protruding coral structures that may come in between your strobes and subject. Adjust the position of your strobes accordingly so that they shine on your subject instead of the corals.
Note: Do not put light-sensitive marine animals under the exposure of strong light longer than their comfort level.
Find out more about your camera lens in Understanding Your Mirrorless Camera Lens, or prepare for your first shoot with 10 Things to Pack for a Photoshoot. Check out these 4 Important Things to Remember When Photographing Underwater and 5 Things to Note when Composing Your Shots Underwater before you take off on your next trip.
Get your own copy of this infographic here.
Receive the latest update on photography news, tips and tricks.
Be part of the SNAPSHOT Community.
Sign Up Now!


