A fascinating underground world awaits when you delve into cave photography. However, there is no shortcut; complete darkness, insects and the damp rocks are just some elements you’ll encounter. Still undaunted? Learn more here.
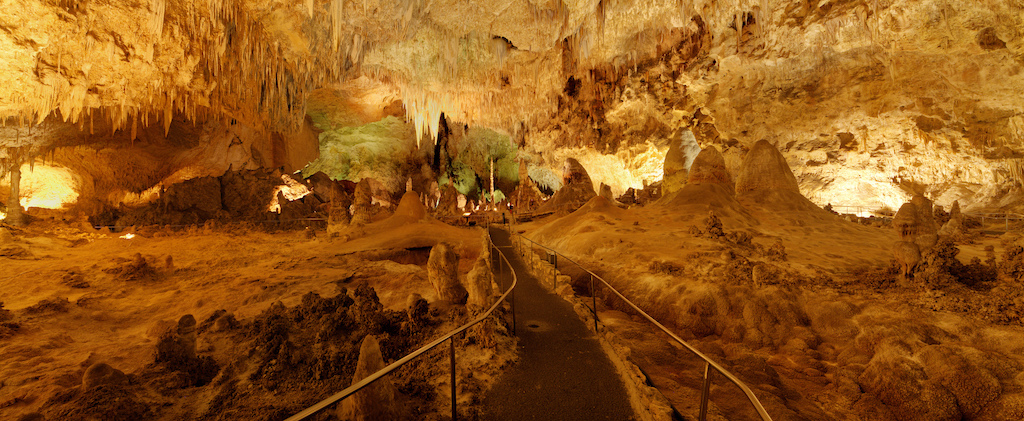
EOS 5D Mark II, EF24-70mm f/2.8L USM lens, f/8, 5.2sec, 24mm, ISO1600 by Hernan Vazquez
Cave photography, as the name suggests, involves exploring dark, dirty and damp caverns to shoot images. We suggest thinking of it as a blank canvas on which you can paint with light. While we don’t deny it can be frustrating, the rewards are worth the effort.
Essential equipment
One of the first things you can expect with cave photography is the absence of light. This means you have to think creatively as pop-up flashes are out of the picture simply because all they do is blast shadows and wash out the depth.
For better manual control, use an external flash so you can manage the aperture, hence achieving proper exposure and depth of field. Tip: Move your flash away from camera to create more shadows and reduce fogginess as the reflections from the water drops will not be in line with the camera.
Read on the basics of an external flash and how it can improve your photography: In Focus: The Basics of External Flash Photography
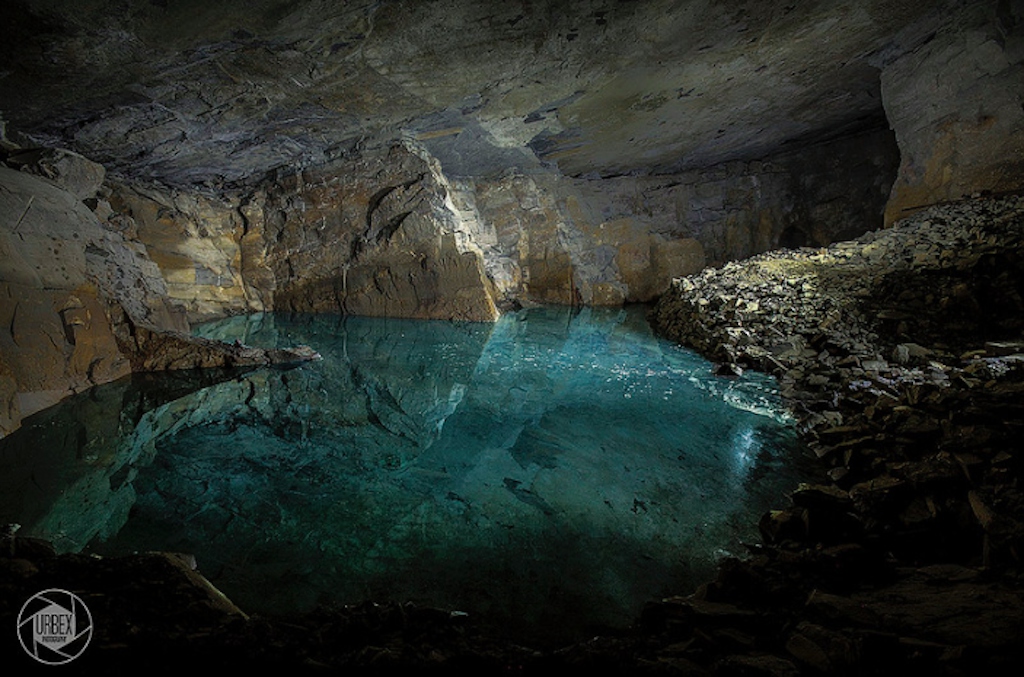
EOS 5D Mark II, EF16-35mm f/2.8L II USM lens, f/18, 8sec, 16mm, ISO800 by Urbex Diary
Wherever possible, place your flash underwater to emphasize the blue-green hues of cave water. Otherwise, water can absorb instead of reflecting light, making it look dark compared to the rest of the scene.
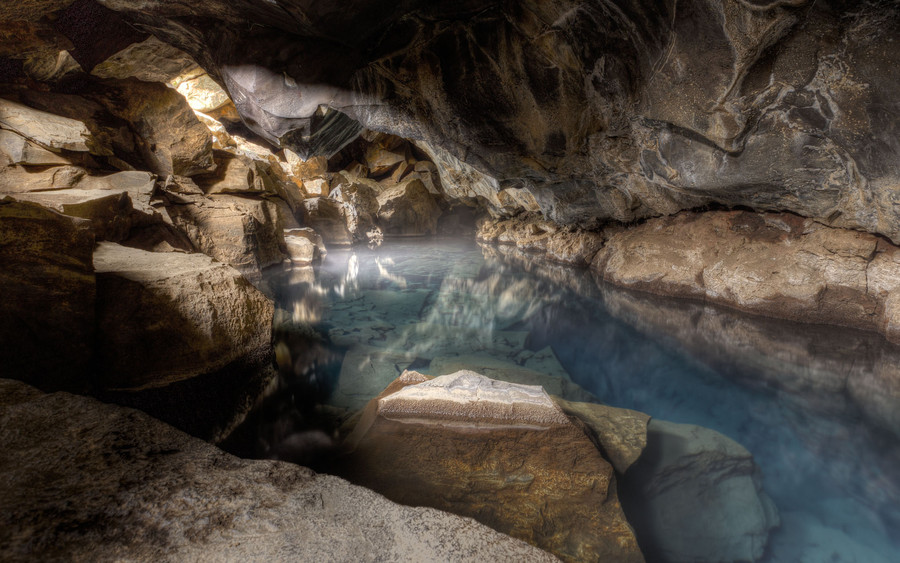
EOS 6D, EF16-35mm f/2.8L II USM lens, f/8, 10sec, 16mm, ISO100 by Gilad Rom
Wide angle lens, typically a maximum angle from 28mm to 38mm, give you more flexibility underground as shooting in caves depends on how far away you can stand from your subject. They also give you the ability to focus manually as most cameras won’t be able to autofocus in a dark cave.
Example of wide angle lenses:
Canon EF11-24mm f/4L USM
Canon EF16-35mm f/2.8L III USM
Learn more about wide angle lenses and how to shoot with here in the article: Exploring Wide Angle Lenses Part 1: Photo Effects of Wide Angle Lenses
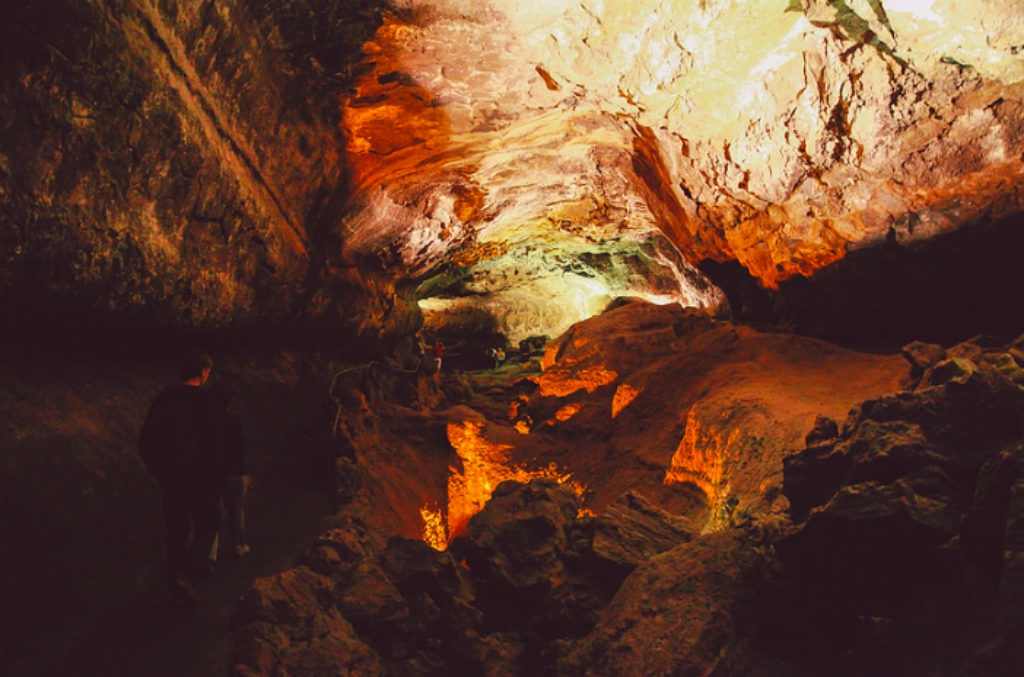
EOS 5D Mark II, EF24-70mm f/4L IS USM lens, f/2.8, 1/25sec, 24mm, ISO6400 by Cristian Bortes
Increase the ISO setting to a level that will produce images that are not too grainy and do not require a tripod since most caves do not allow tripods for fear of producing a tripping hazard if they are set up on the trail.
Set your camera in aperture priority mode with a very low aperture. This keeps the shutter speed moving quick enough to capture some images without a tripod or flash.
Understand more about ISO settings here: What is ISO Speed?
Learn more about basic aperture settings here: Learning about Aperture
Things to consider
Protect your gear as caves tend to be damp and dirty. if you’re exploring the cave in a group, try to stay in the back to capture all the images you need while the group is moving forward. Take in the scene while the tour guide speaks, compose your shots then get shooting!
Work with elements
Make your cave imagery more interesting by having people in them. This lends a sense of scale to the visual and if there is motion, a sense of something happening.
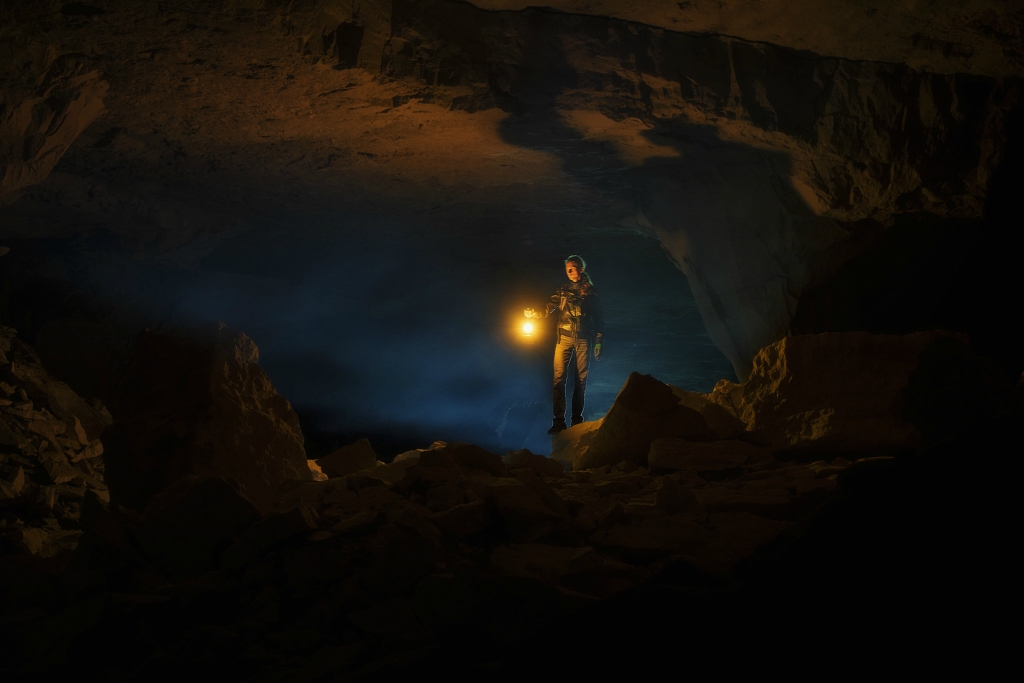
EOS 5D Mark II, EF50mm f/1.4 USM lens, f/3.2, 8sec, 50mm, ISO640 by Ale Shoami
Safety first
As most cave tours will not allow you to touch the walls of the cave, handrails provided act as a sturdy tripod for your camera. Stand apart and rest your back against a handrail. Breathe in, then hit the shutter button when you exhale. Another way to stabilise the camera is to place its base just under the lens and against the handrail.
Receive the latest updates on photography news, tips and tricks by signing up with us!
Profile of author

Azmin Zainal
Azmin Zainal has been in love with the written word ever since she could well, read. Relatively new to all things digital, so show her some love. Still searching for the meaning of life, whatever that is. Loves coffee, good conversations, fried chicken and Roger Federer. Not necessarily in that order.


