


You might have tried to take a photo of the Moon on your smartphone, only to end up with blurry shots or an indiscernible white blob. In order to capture the Moon in its full glory, grab your camera and read this guide.
Moon photography might seem challenging, but trust us when we say your efforts at mastering this particular sub-genre of night photography will pay off. Not only will you end up with stunning lunar pictures, but being able to include the Moon adds dimension to landscape shots and helps hone your other photography skills. From equipment to settings to other practical tips, this guide will have you shooting the Moon like a pro in no time.
Prep work
As with all genres in photography, prep work is crucial, but when you want to photograph the Moon, you’ll need to understand its phases so you don’t head out on the wrong night. The Moon goes through different phases during the month; when it is between the Earth and Sun, we get a “new moon” as no sunlight falls on the side of the Moon facing us. When the Sun does fall, that side of the Moon facing us is lit up, giving us the full Moon. As the Moon “grows”, that phase is called the “waxing moon”, and “waning moon” in contrast.
Moon types

Depending on its appearance or distance from the Earth, the Moon has different names:
For an in-depth understanding of the Moon and its various phases, check out this website: https://www.rmg.co.uk/discover/explore/names-full-moons-throughout-year
We recommend downloading apps such as PhotoPills, The Photographer's Ephemeris or use sites like timeanddate.com and darksitefinder.com to help you plan and track Moon phases and weather forecast.
Composition

Photo Credit: @Keithliew
Canon EOS 5D Mark IV, EF 400mm f/5.6L USM, ƒ6.3, ISO400, 1/500 sec, 400mm
Once you’ve decided when to head out and shoot, you need to decide where. When it comes to astrophotography, location scouting ahead of time is crucial. If you plan on shooting the Moon with a scene in the foreground, the type of lens you choose will impact how the Moon appears.
Another thing to consider is the ratio of the Moon to the other elements - do you want the Moon to dominate, or hang quietly in the background? When it comes to lighting, heading out too early in the evening or too close to dawn may cause the scene to be overexposed as there will be more light in the sky. The position of the Moon might not necessarily be where you want it to be, which is why planning is crucial. The lighting situation during dawn or dusk could potentially impact your foreground, but this changes depending on the time of year.
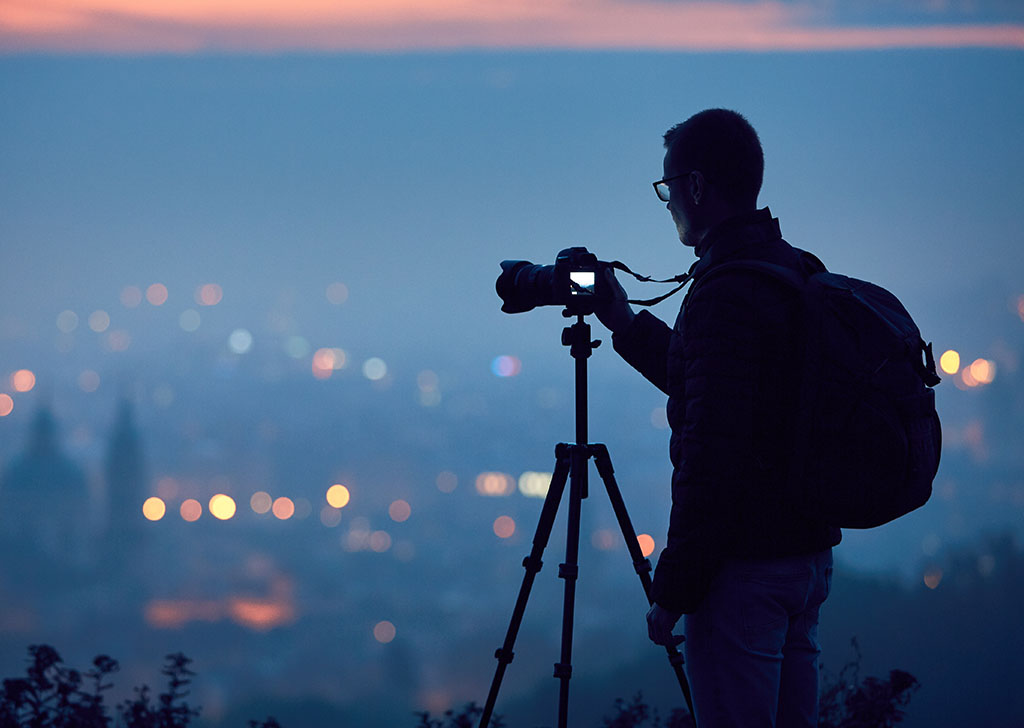
Gear
 Photographing the Moon, especially on your first few attempts, might take longer to achieve as you familiarise yourself with the settings of your camera. Here are some things we recommend bringing on your shoot:
How to shoot the Moon
Camera Settings:
Looney 11 Rule:
In lunar photography, the Looney 11 (or Looney f/11) rule is a way to estimate correct exposures without a light meter.
The rule is to set your aperture to f/11 and shutter speed to the ISO you’ve selected.
Example: If your ISO is 100, the shutter speed should be 1/100s, and ISO 200 puts you at 1/200s.
Steps:
1. Position your camera towards the Moon and view it on Live View
2. Ensure your tripod is stable and zoom in as much as you want on the Moon
3. Ensure your camera settings are correct and use your shutter release to take the photo. If you don’t have a shutter release, set a timer to minimise shake
4. Keep playing with the ISO and shutter speed until you get a shot you’re happy with
5. Use digital zoom on your camera to magnify playback and check for any blur spots in your images
Shooting the Moon and to have it part of your landscape shot doesn’t have to be intimidating! Just remember it requires a different set of planning - and part of nailing the process is through experimentation and practice.
PHOTOGRAPHY TIPS
For similar articles:
Essential apps to take outdoor photography to the next level
3 useful camera functions for shooting nightscapes
Shooting landscapes with the RF 15-35mm and RF 24-240mm lenses


