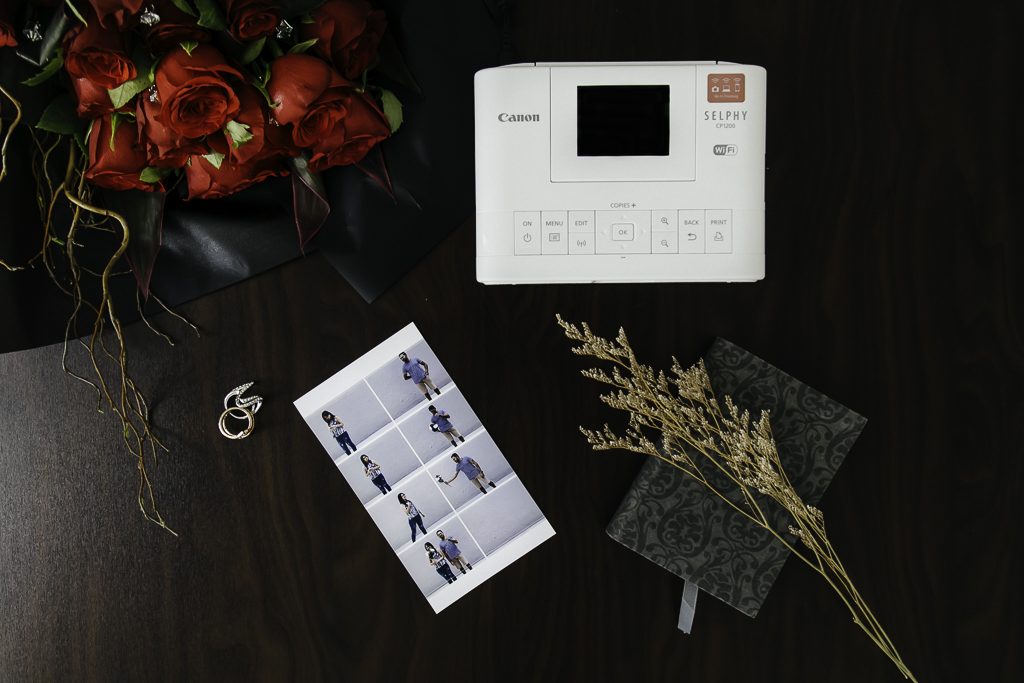
Sleek, easy to use and compact, the Selphy CP1200 printer is more than just a printer – it is an opportunity to create meaningful photo collages for your close friends and express your creativity. Check out our step-by-step guide to making the perfect pictorial gift for your loved ones.
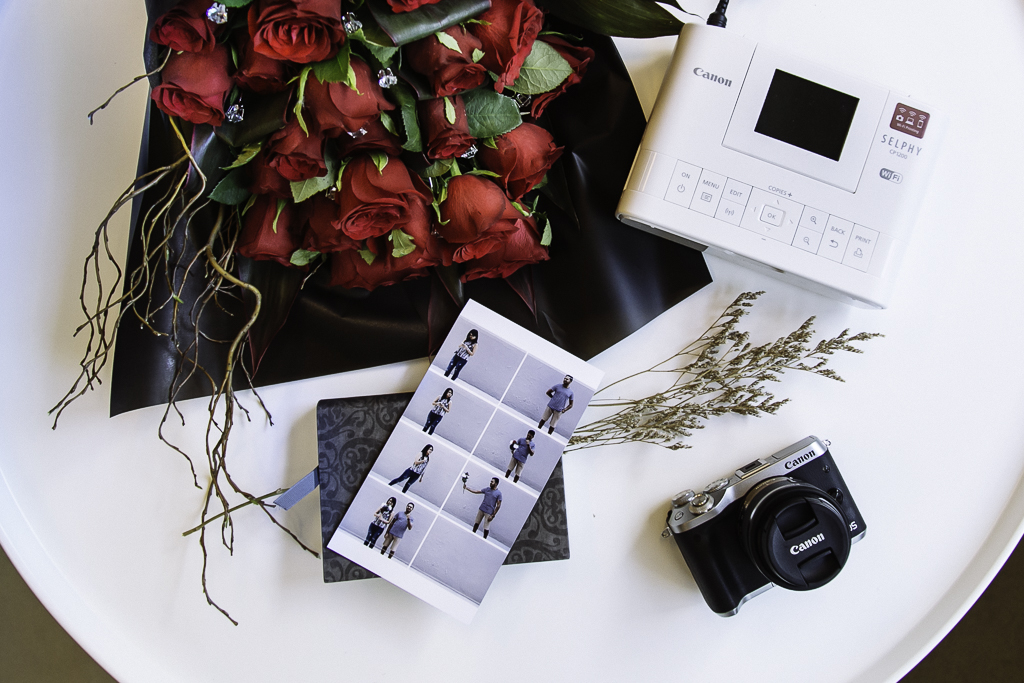
Step One: Load your paper cassette
Our handy paper cassettes come in 3 options: Postcard-size (100x148mm), L-size (89x119mm) and Card-size (54x86mm).
Simply load the tray and when you hear a ‘click’ sound, you’re good to start printing.
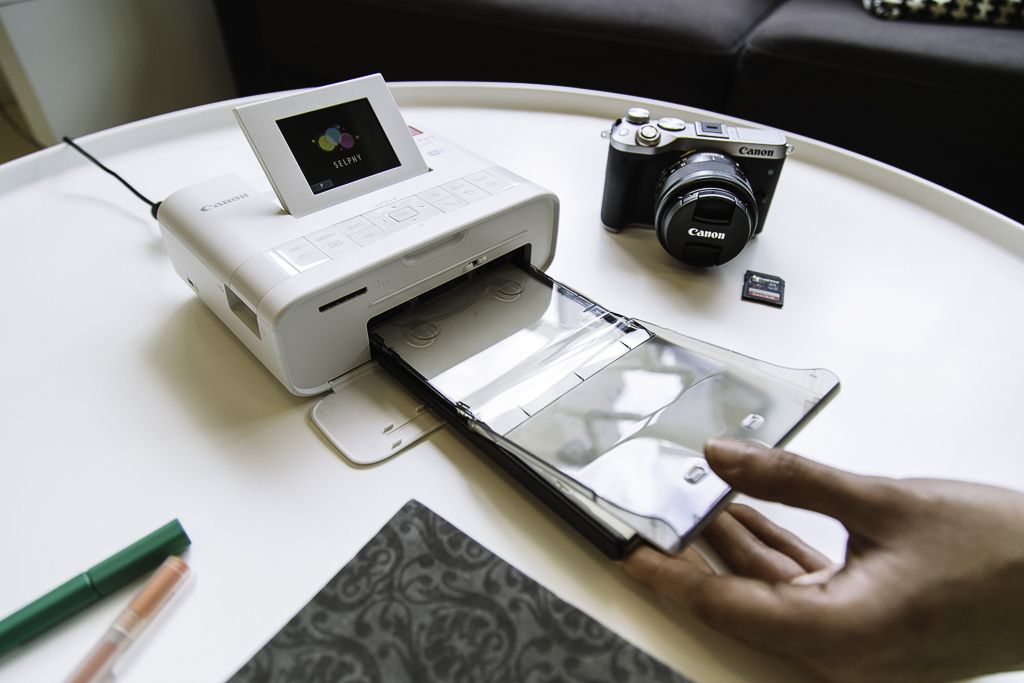
Step Two: Import your images
The Canon Selphy CP1200 supports SD, CF, SDHC, SDXC cards and Microdrives without the need for an adaptor, so you can just plug and go! Alternatively, transfer your images via WiFi (perfect for on-the-go printing).
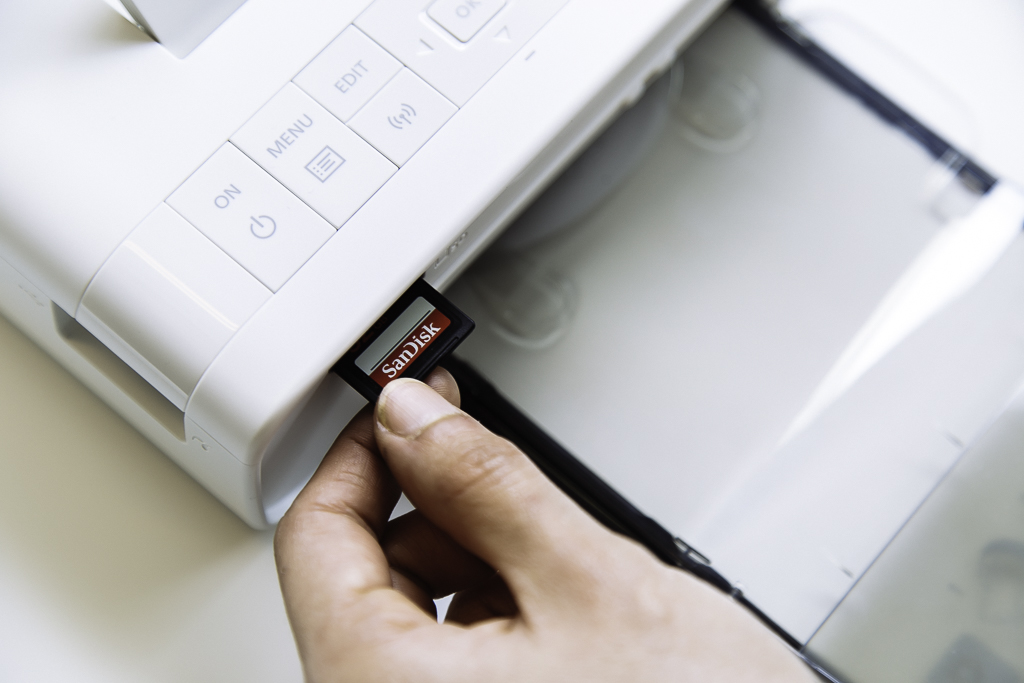
Step Three: Select your image layout
From an easily navigable menu, choose how you want your images to appear, whether as a collage, photo ID or on its own. For our collage example, we used the ID Photo setting.
Bonus: the pivot screen makes the selection process a breeze
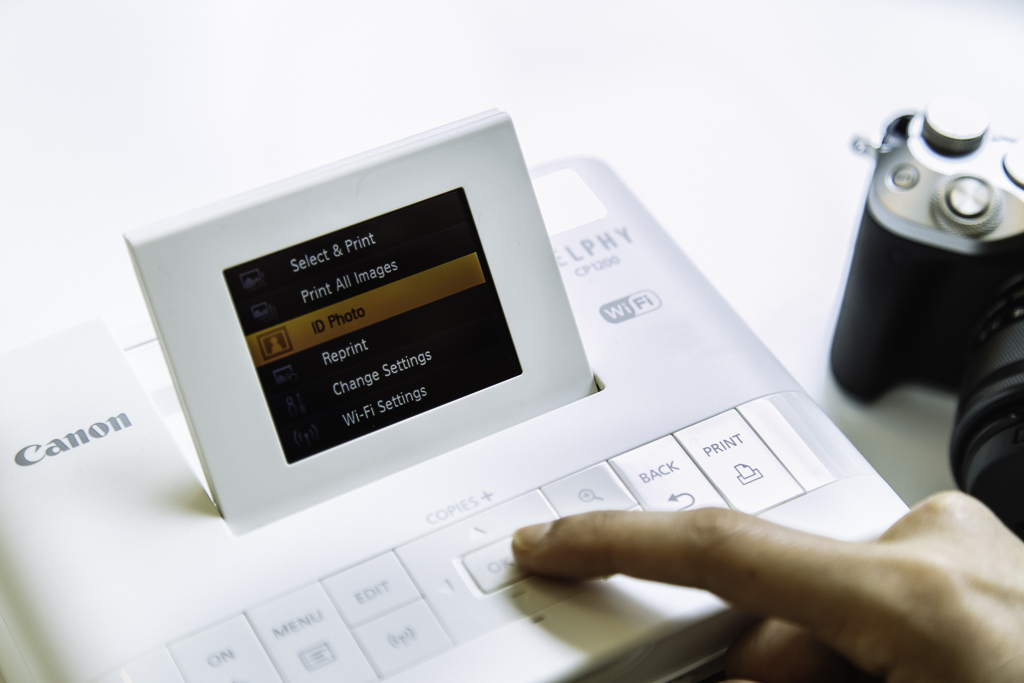
Step Four: Select your image size
On the Photo ID setting, further customize how you want your images to appear by selecting the size of each individual image.
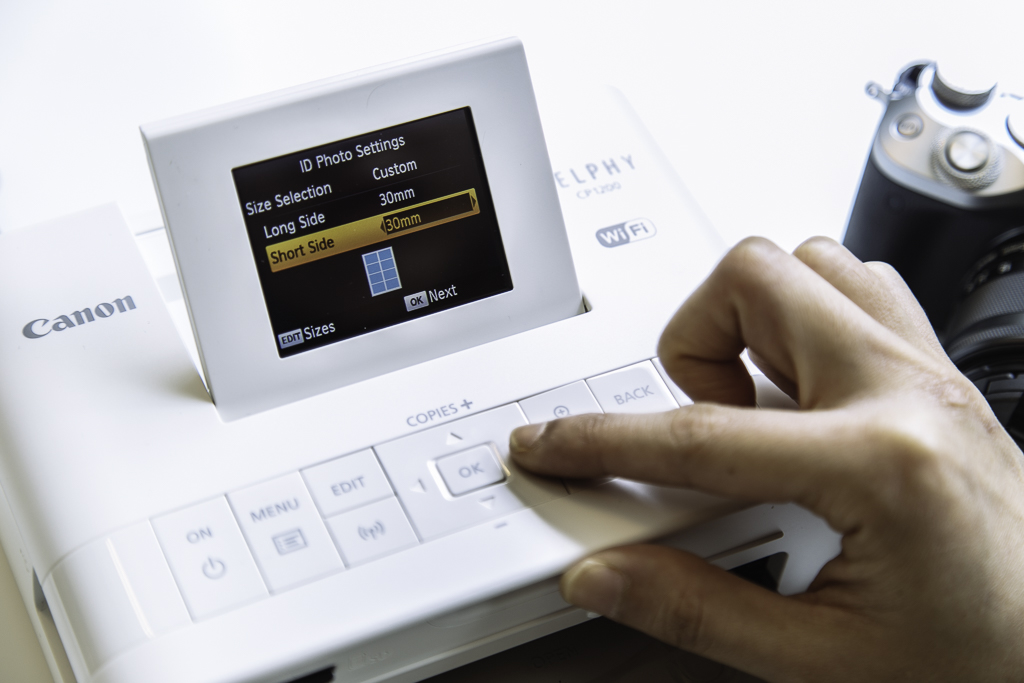
Step Five: Plot your images
Plot the order of your images accordingly. For results exactly like our collage, we recommend shooting in landscape, but the printer supports portrait printing too, if you wish to try a different layout.
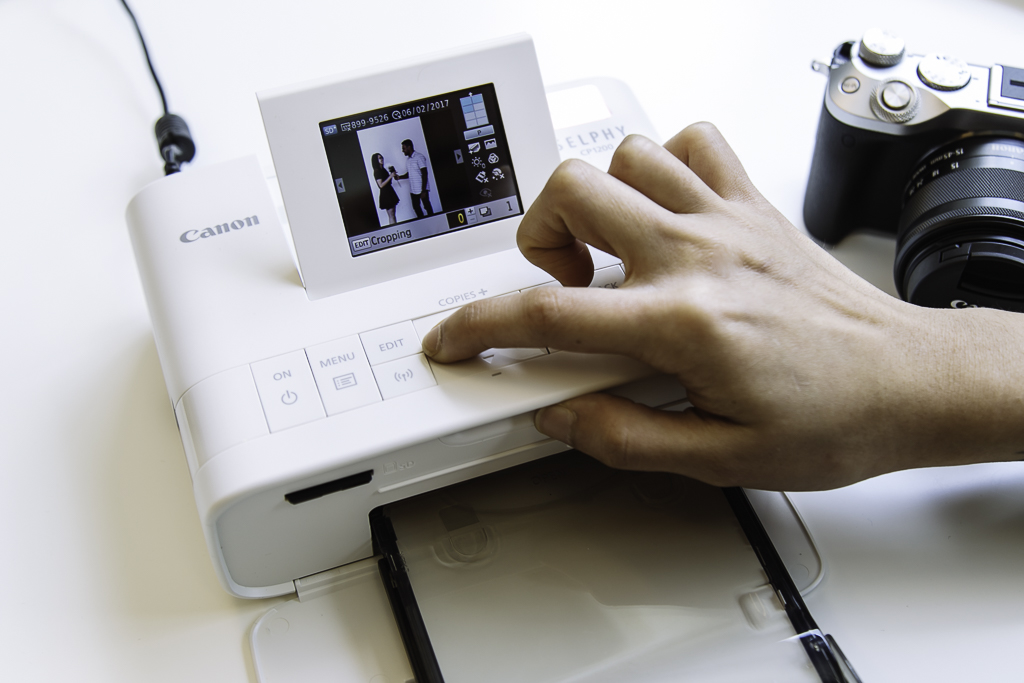
Step Six: Print
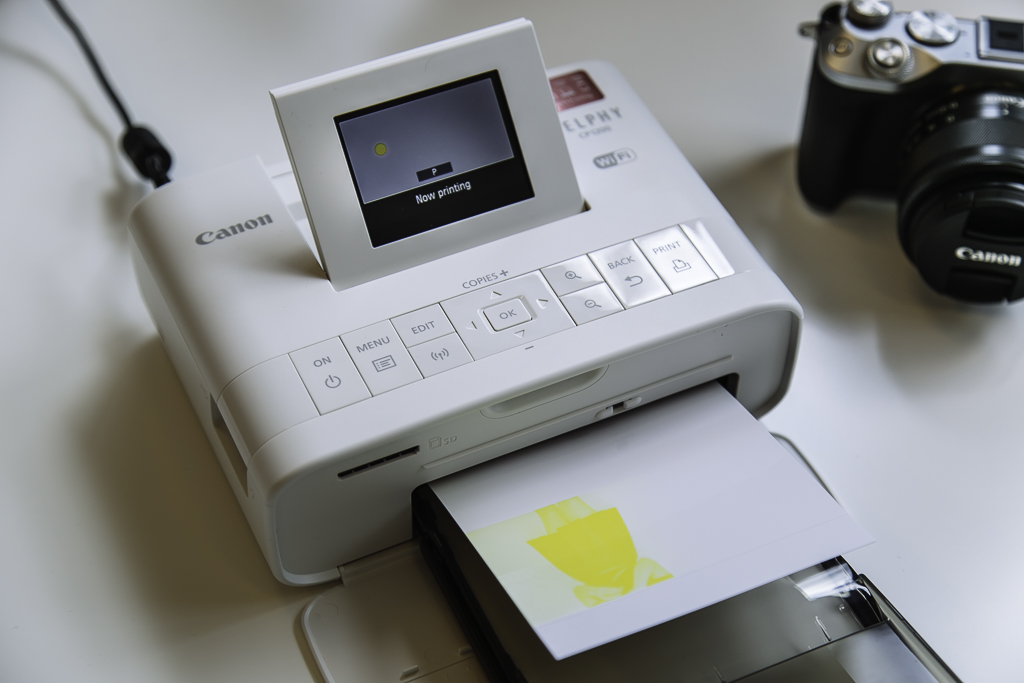
Hit print, and wait! The printer prints in the order of CMYK, so don’t be alarmed when your image initially appears as below.
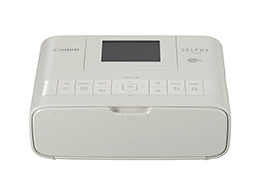
SELPHY CP1200
Receive the latest updates on photography news, tips and tricks by signing up with us!


