How to Prep Your Camera and Accessories for Your First Dive
Whether you are an amateur or experienced diver, there are several things to take note of when attempting underwater photography for the first time, and that includes preparation. Making sure that your underwater case and camera are set up properly is crucial to a having a successful underwater photography experience, because it may be difficult to fix any problem once you are under water.
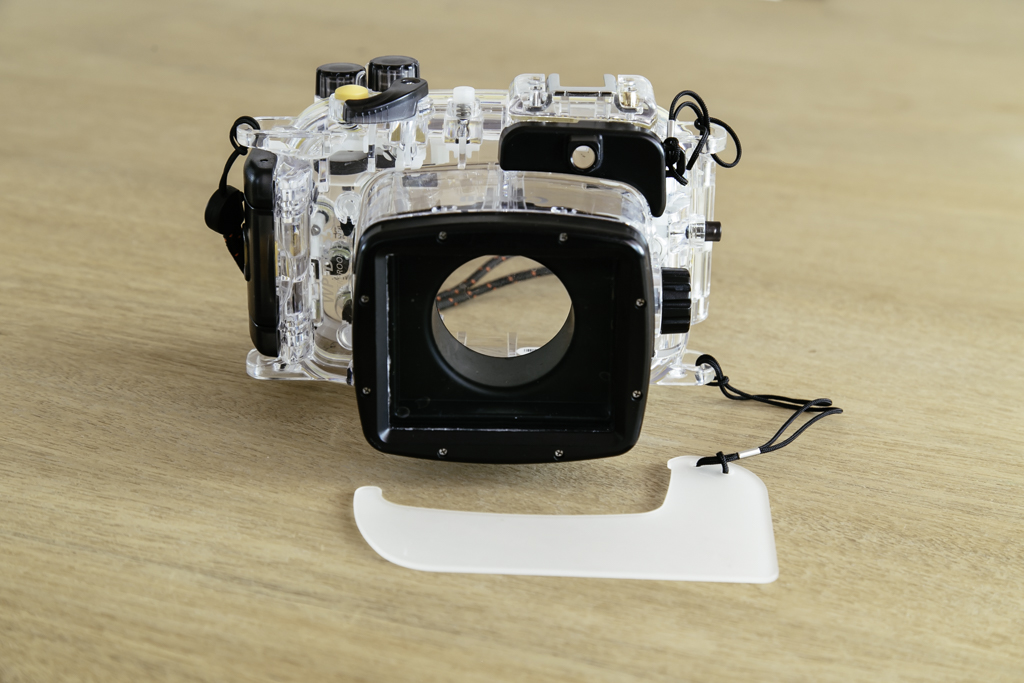
The Canon waterproof case protects your camera and keeps it dry as you dive in the water. It allows you to take underwater shots effortlessly with its designated buttons that connect to your camera’s, as well as a flash diffuser to ensure your flash is controlled. The WP-DC55 case (as seen above) is made specially for Canon PowerShot G7 X Mark II, a compact camera that is lightweight, easy to control, and produces amazing results. Learn more about the camera in Freediving with the Canon PowerShot G7 X Mark II. But first, let’s begin with the underwater case.
1. Open the case
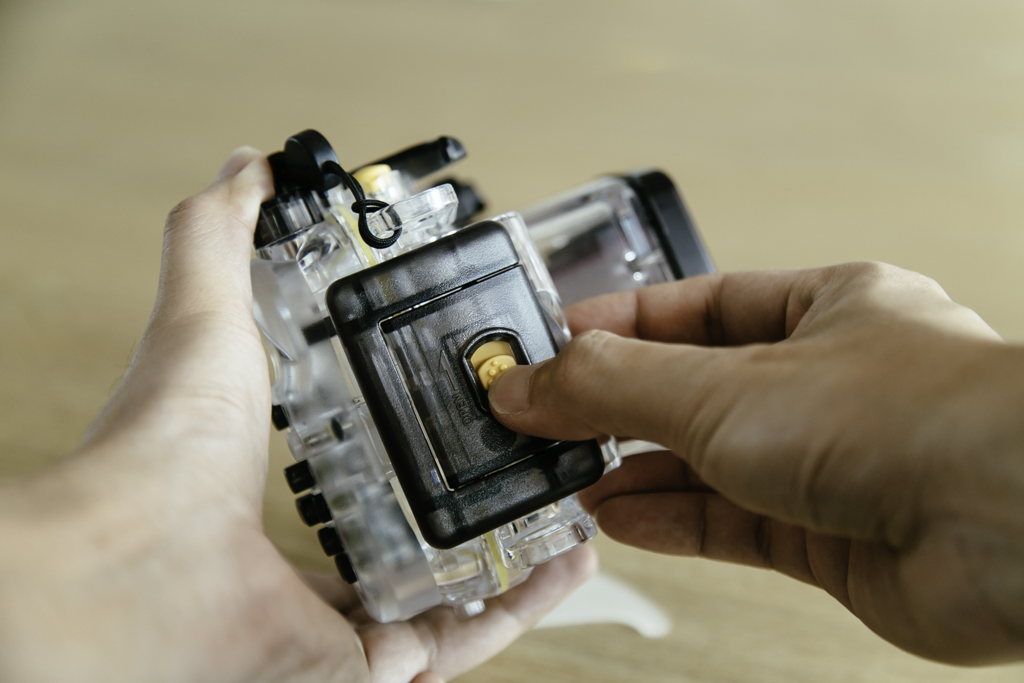
The case is locked for extra protection and only opens from the side. To open, push the yellow tab up and then lift the lock. It may take several tries to get used to the motion but that is how the case keeps your camera dustproof and waterproof.
2. Clean thoroughly
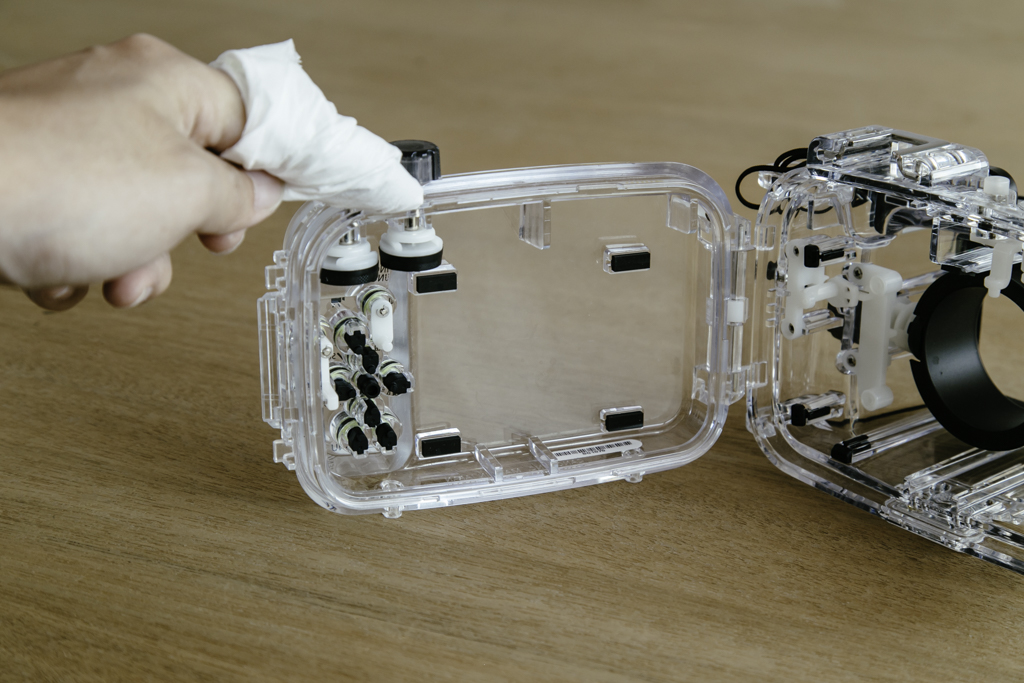
You would want to make sure that there is no hair, sand, dust or other visible particles in your underwater case. Use a piece cotton bud with some water or lint-free cloth to clean the inside of the case as well as its rim.
3. Grease the O ring
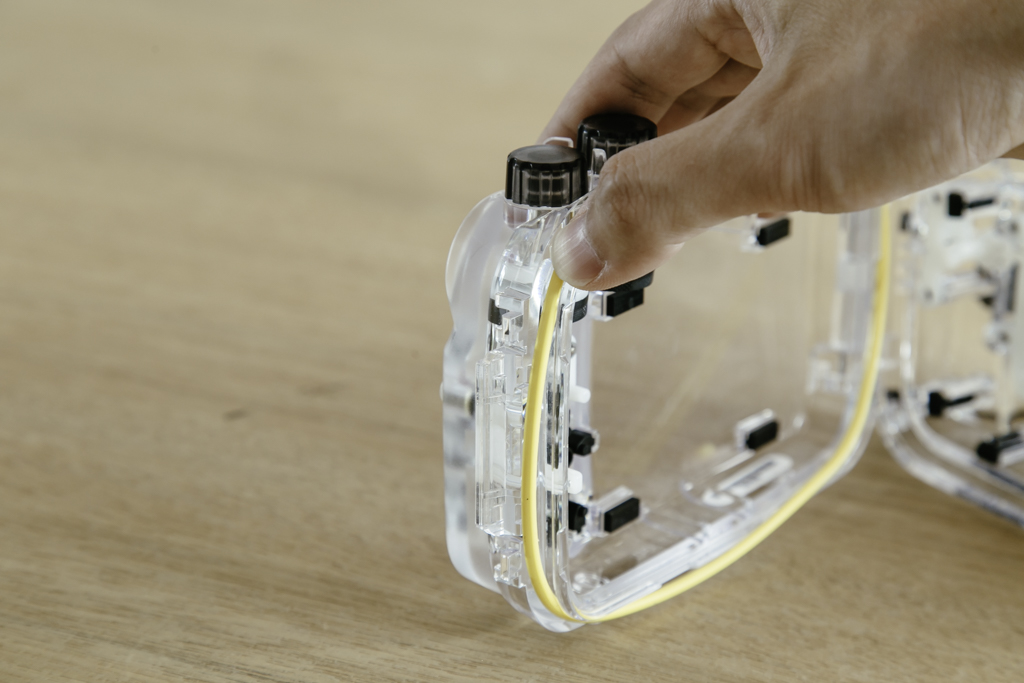
The O ring is crucial to keeping your case airtight. Carefully apply the silicon grease that comes with the Canon underwater case to the O ring before fixing it into the rim to create a waterproof seal.
4. Adjust your camera settings and insert the camera
It is recommended to have a rough idea of what you’re going to shoot and adjust your camera settings accordingly before fixing the camera into your underwater case.
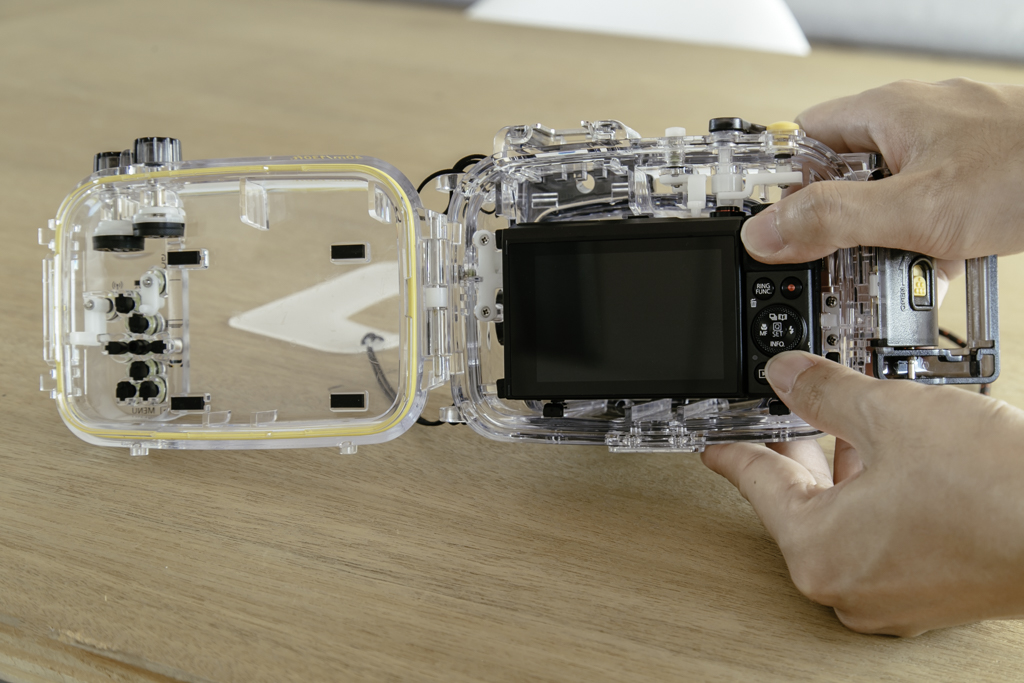
After you are done with the camera settings, fix your camera into the case, close the lid and make sure that it is locked.
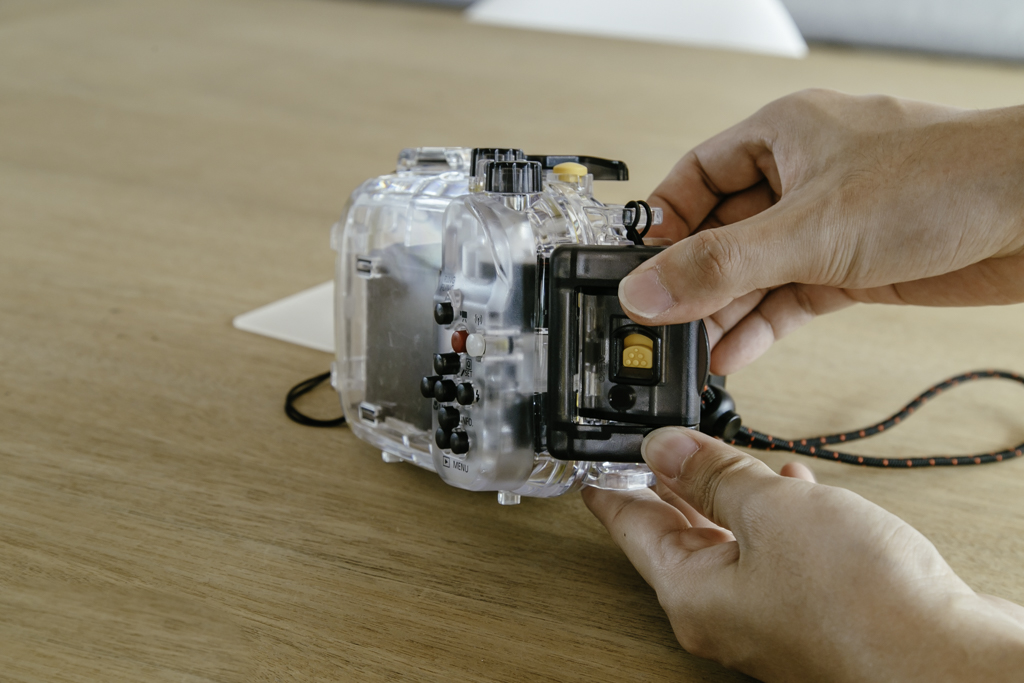
5. Test all the buttons
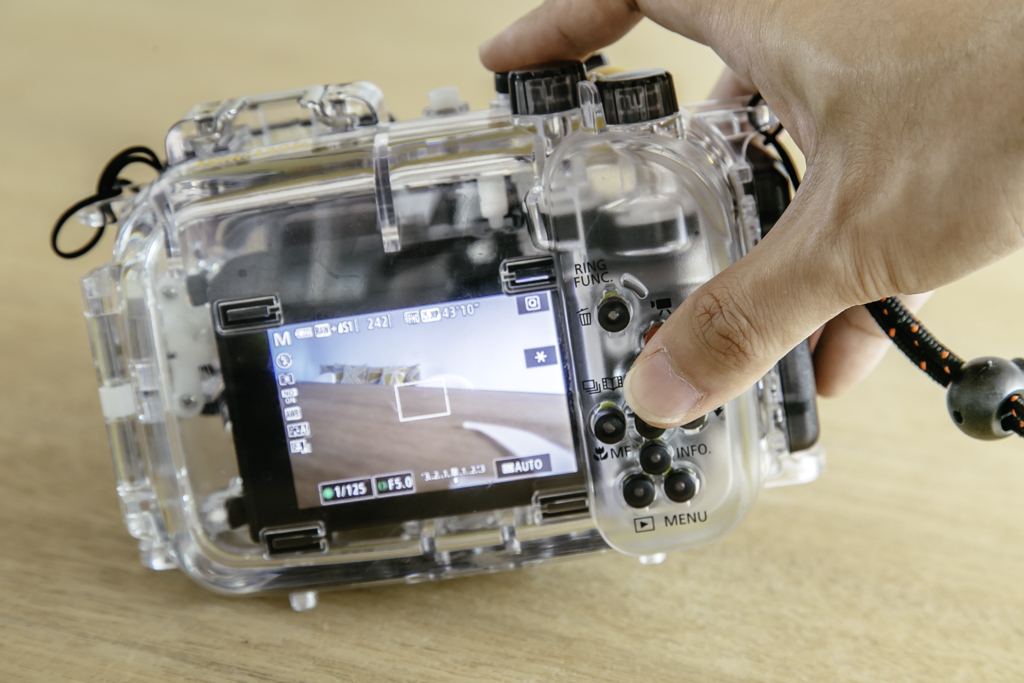
Once the underwater case is tightly sealed, press on every single button to make sure that they all work. You can also use this opportunity to familiarise yourself with the various buttons, and further adjust your camera setting.
6. Fix the flash diffuser
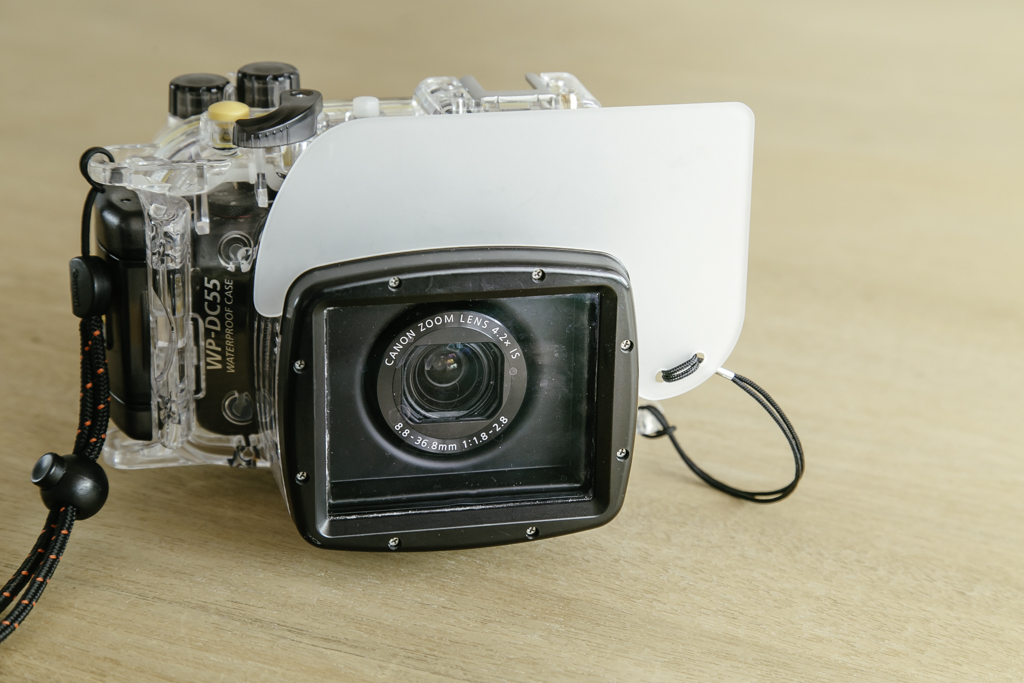
The diffuser is an important element for your underwater photography. One of the major problems when shooting underwater is backscatter, where light is being reflected off the particles from the flash into the lens, causing distracting white specks. To prevent that from happening, use a diffuser to reduce backscatter in your photos.
7. Attach the lanyard or bungee cord
A lanyard is used to secure the camera to yourself so that it will not float or sink away while you are underwater. Everything is different from being on land so securing your camera is more than just a strap over your neck.
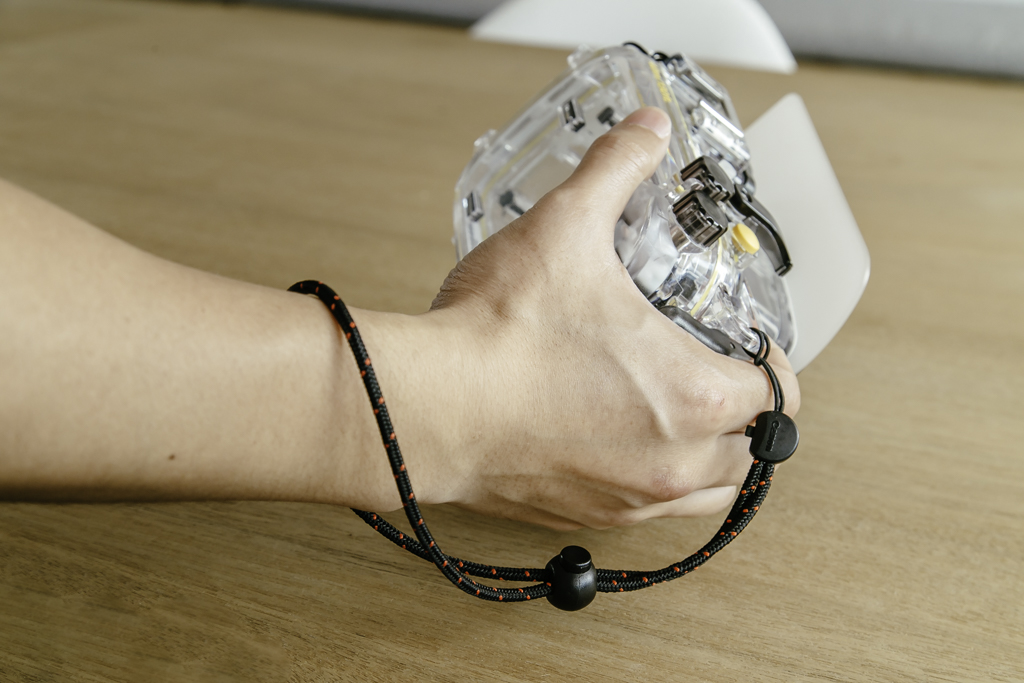
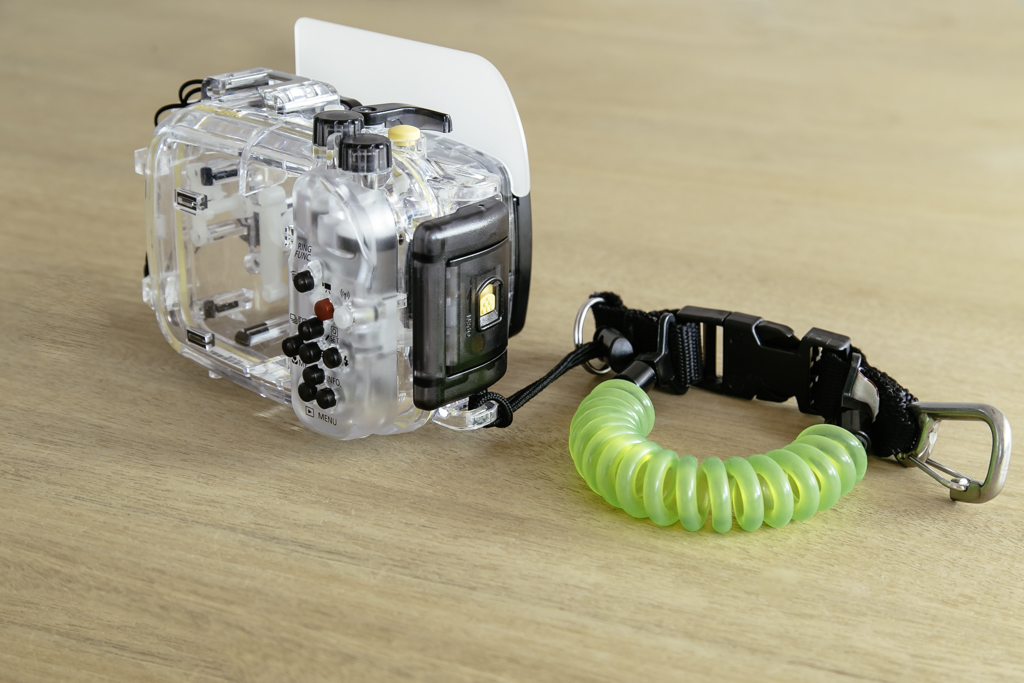
Alternatively, use a bungee cord and attach it to your Buoyancy Compensation Device(BCD) if you want to keep your hands free.
Bonus: Adjust your shutter speed and aperture
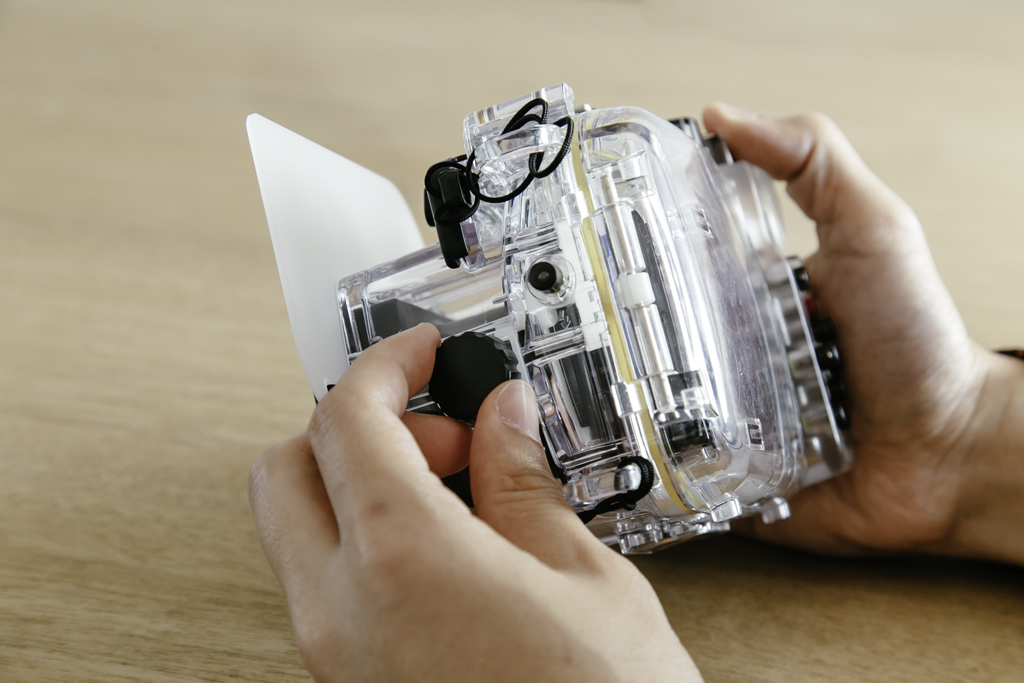
When shooting on Manual mode, adjust your shutter speed by turning the knob clockwise/anti-clockwise on the side of the case.
For adjusting of the aperture, tap on the Ring Function button to find the f stop of your choice.
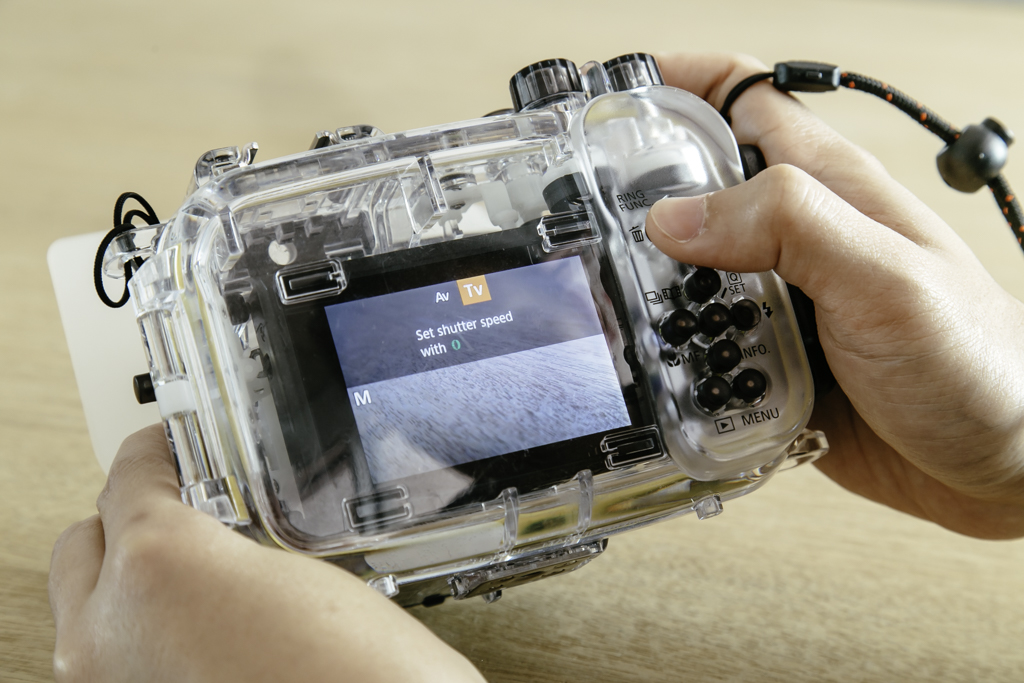
Once you are done with the preparation, you are almost ready for your dive. It is important to ensure that your camera battery is fully charged and your SD card has ample space. It would be a hassle if you are already in the water and found out otherwise.
Find more tips in the article Underwater Photography: Starting on the right path.
Receive the latest update on photography news, tips and tricks.
Be part of the SNAPSHOT Community.
Sign Up Now!


