f/16: Achieving Sharp Depictions of Landscapes from Foreground to Background
What happens when you come across a scene with an interesting subject close to you in the foreground, and beautiful scenery that extends far into the background? Try deep focusing at f/16, which provides a large depth-of-field that is excellent for such situations. (Reported by: Teppei Kohno)

f/16, 1/100 sec, ISO 400
f/16: Good for deep focusing when you have a foreground subject located close to you, and a background that is very far away
In a previous article, we recommended using f/11 for capturing grand landscapes with a deep depth of field. However, there may be cases where you want to include a closeup of a nearby object in the same shot. (One example: When taking advantage of perspective exaggeration on a ultra-wide-angle lens)
In such cases, f/11 might not provide enough depth-of-field to keep both the foreground subject and the distant background in sharp focus. This is why many professional photographers choose to use f/16.
f/16

f/16, 1/400 sec, ISO 400
(Click to see larger version)
The beach scene looks clear with all areas in focus.
f/5

f/5, 1/2500 sec, ISO 400
(Click to see larger version)
The plant in the foreground is the only discernible main subject while the beach at the back is blurred. The boats at the back are also less sharp.
For one more case study, see the example of the World Heritage site in this article:
Irresistible Tips from Professionals in Travel Photography
Know this:
- The narrower the aperture, the higher the chances of diffraction, which causes details to appear less sharp and overall image quality to deteriorate. The diffraction correction function on your camera and in the Digital Lens Optimizer function in the Digital Photo Professional can correct this to some extent, but prevention is always better than cure. This is why many professional photographers try not to go narrower than f/16 except under special circumstances.
- The shutter speed will slow down to ensure sufficient exposure. Be prepared and take steps to stabilise your gear. If you don't want it to slow down by too much, set a higher ISO speed.
Bonus technique: Create a starburst to accentuate the shot!
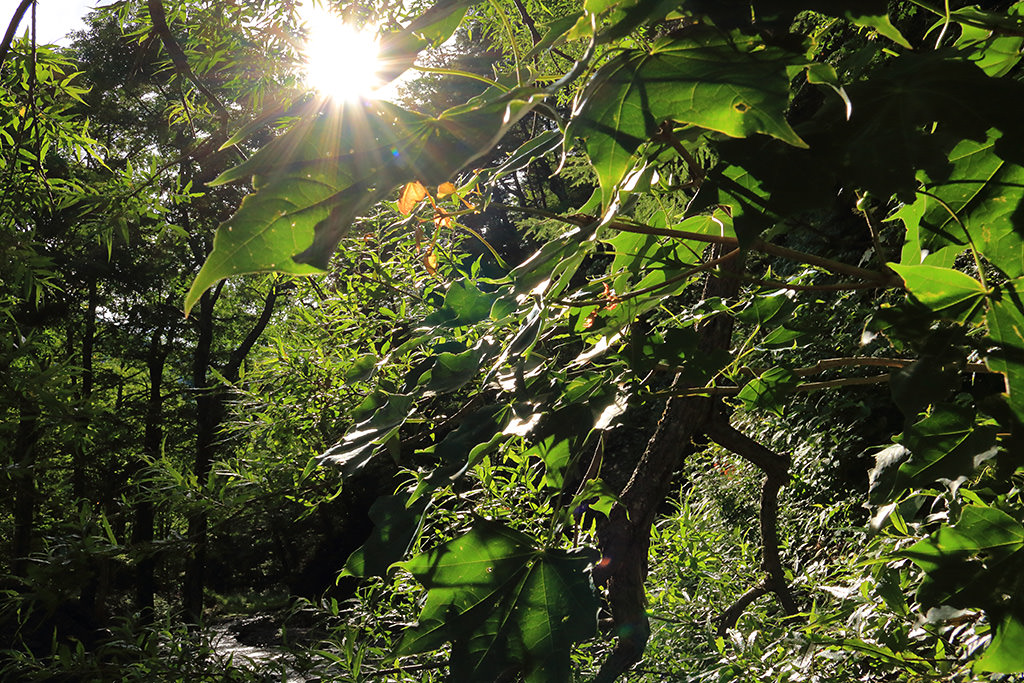
When you increase the aperture value and narrow the aperture, concentrated light sources in the frame (such as the sun) will appear to give out long, sharp streaks of light known as starbursts. You can use them to make your shot look more interesting.
For more details, check out: Guide to Creating a Starburst Effect with the Sun.
f/3.5: No starburst

f/3.5, 1/4000 sec, ISO 800
The area around the sun is bright, resulting in flaring that makes the subject look dim.
f/16: A pretty starburst

f/16, 1/320 sec, ISO 800
The sunlight turns into sparkling starburst effect that accentuates the photo.
Find out what else you can do with aperture setting f/16 in these articles:
Wave Photography: Which Shutter Speed to Use to Depict Power and Dynamism?
3 Situational Hacks by Quick-Thinking Photographers
How I Nailed the Shot: Camera Settings for Capturing Peace & Quiet on a Lake
In what situations have you used f/16 to shoot? Share them with us on My Canon Story
Receive the latest update on photography news, tips and tricks.
Be part of the SNAPSHOT Community.
Sign Up Now!About the Author
Born in Tokyo in 1976, Kohno graduated with a Social Work degree from the Department of Sociology of Meiji Gakuin University, and apprenticed with photographer Masato Terauchi. He contributed to the first issue of photography magazine PHaT PHOTO and became an independent photographer after that, in 2003. The author of many books, Kohno not only shoots all sorts of commercial photographs, but also writes prolifically for camera and other magazines.


