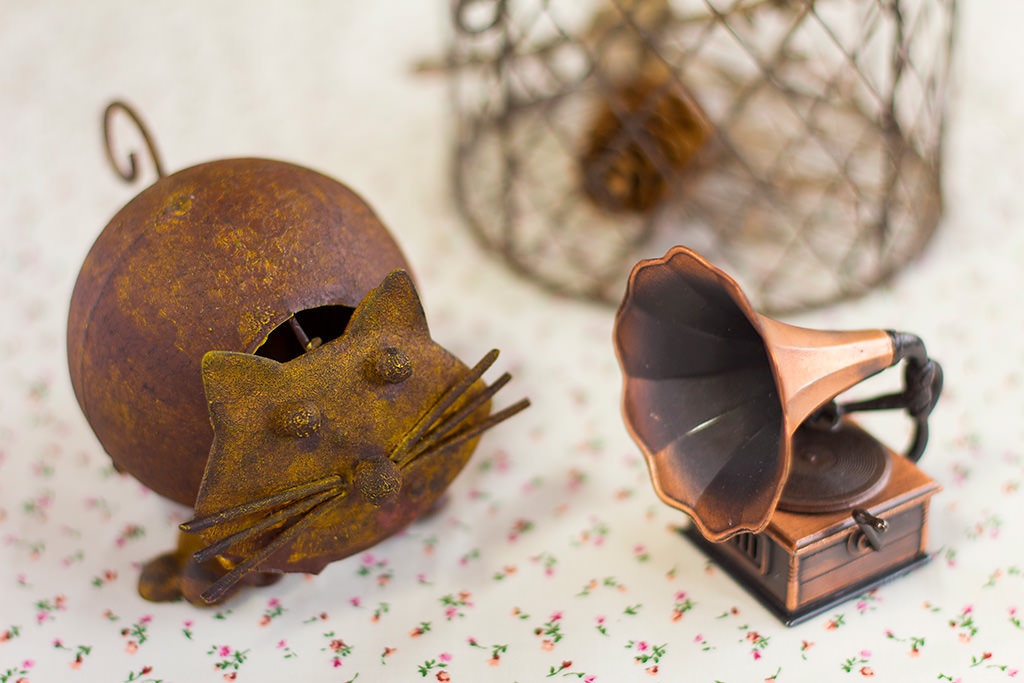
The Wonders of f/2.2 in Still-Life Photography
It's fun creating bokeh at maximum aperture, especially when your lens goes as wide as f/1.8 or f/2.0 and gives you a beautiful, creamy blur. But a super-wide aperture might not be the best choice when you shoot small objects. Here's why professional photographers recommend going just a bit narrower, with f/2.2 as a rule-of-thumb. (Reported by: Teppei Kohno)

Maximum aperture is not always the optimum for creating nice bokeh pictures
In Aperture-Priority AE Technique #1, we learned that a lens with a larger maximum aperture (smaller minimum f-number) can produce a stronger bokeh effect, and we were encouraged to use the maximum aperture to make our portrait subjects stand out better against the background
Indeed, extremely wide apertures such as f/1.4 or f/1.8 can create beautiful background bokeh. It is a key reason why Canon's most beloved portrait prime lenses (such as the 50mm and 85mm lenses) go as wide as f/1.2.
However, in some other situations, using the maximum aperture bokeh might not be so ideal.
Reasons to go just a bit narrower
- If the f-number is too small, the focusing plane becomes very narrow, which makes establishing focus difficult.
- If the background bokeh effect is too strong, it can cause the main subject to look lost in the blurring.
- For some types of subjects, certain lens aberrations become more obvious at maximum aperture, which makes the shot look less sharp.
One situation where going just a bit narrower might give better results is when you are shooting small objects. For a start, try f/2.2.
Take a look at the following images shot using the Aperture-priority AE mode. Looking at the images side-by-side, can you spot the differences?
f/1.8

f/1.8/ 1/80 sec/ ISO 200
f/2.2

f/2.2/ 1/150 sec/ ISO 200
Let's look at larger versions of the images.
f/2.2

A strong bokeh effect is created, plus the focus is firmly on the main subject.
f/1.8

The bokeh effect is very appealing, but the image doesn't look as sharp.
Bonus technique: Increase Picture Style "Contrast" and "Saturation"
When shooting small items, too much bokeh can also make the shot look dull. Besides shooting with a slightly narrower aperture, try increasing the "Contrast" and "Saturation" settings in the Picture Style [Detail set.] menu. This will add more colour and life to your shot.
Picture Style - Standard
(Using default parameters)

Although there is a beautiful bokeh effect, the muted colours makes the shot look dull.
Picture Style - Standard
(Contrast +3, Saturation +2)

The resulting image maintains a beautiful background bokeh, but looks more impactful.
Not sure how to change your aperture settings? Click here for step-by-step instructions.
Try it out for yourself!
If you own an EF50mm f/1.8 STM, EF-M22mm f/2.0 STM or any other fast lens, you can test this out for yourself: Find some ornaments, figurines or some other small objects. Shoot them at maximum aperture, and then narrow the aperture to f/2.2 and try again. Compare the results. You can also try even narrower apertures and see how the shot changes. The differences might be subtle, but it affects the impression viewers get of your shot. In some situations, you might get better results going even narrower (such as f/2.5 or f/2.8)!
See how f/2.2 was used to capture a pretty picture of food in:
5 Photography Techniques to Try on Your Next Trip
You might also want to check out:
How to Create a Sparkly Background with Bokeh Circles for Pretty Trinket Pictures
Receive the latest update on photography news, tips and tricks.
Be part of the SNAPSHOT Community.
Sign Up Now!About the Author
Born in Tokyo in 1976, Kohno graduated with a Social Work degree from the Department of Sociology of Meiji Gakuin University, and apprenticed with photographer Masato Terauchi. He contributed to the first issue of photography magazine PHaT PHOTO and became an independent photographer after that, in 2003. The author of many books, Kohno not only shoots all sorts of commercial photographs, but also writes prolifically for camera and other magazines.


