


Ever wondered how product catalogues achieve their well-lit output that almost looks like the products have been photoshopped into a white background? The answer lies in the use of different lighting placed at various angles and distances to ensure that the products are well-lit on all sides. It also requires diffusers to soften the light sources and retain as much colour integrity and detail, and a photography sweep that helps to achieve a seamless white background. However, the required equipment is professional, bulky and often only found in a photography studio, so it may not always be very cost-friendly.
But what if you could DIY an inexpensive alternative that works? Curious? Check out how to create a DIY Light Box by using common materials such as a light cardboard box, tapes and paper, and see the sample output shots after using it!
Materials needed: cardboard box, double-sided tape, clear tape, white paper, tracing paper, penknife and ruler.
Step 1: Choose a side with the outer folds and remove them, then tape down flat the opposite panel of folds. Tip: Try to flatten the back panel as much as possible by using a combination of double-sided tape and clear tape to go around it.
Step 2: Layer the left, right, top and back panels with white paper.
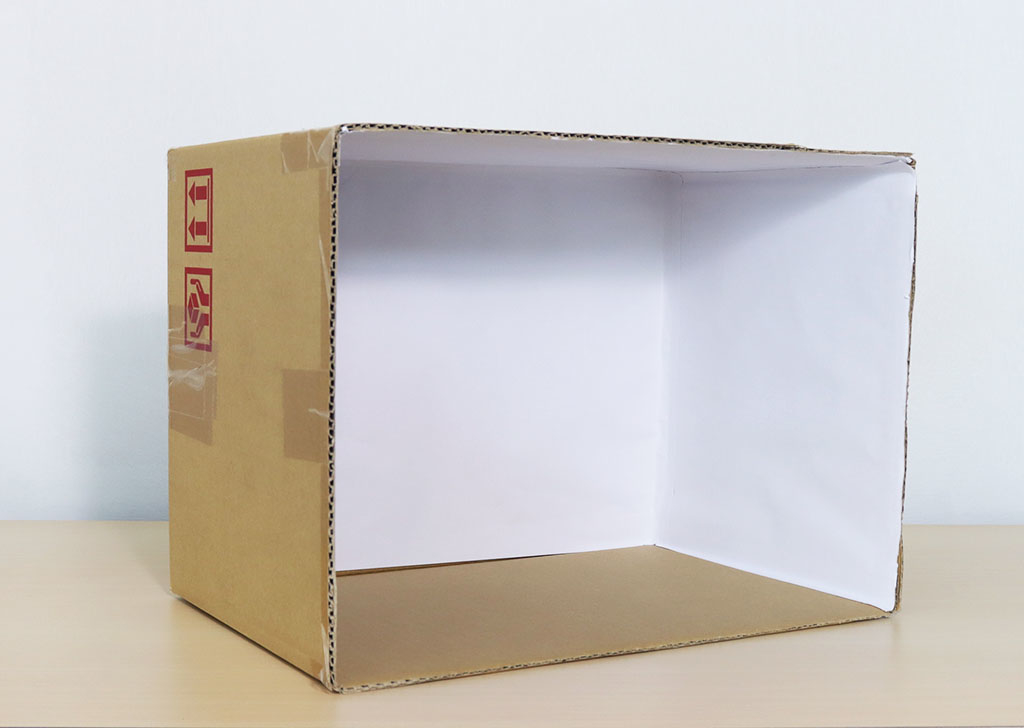 Tip: Achieve a matte finish by using double-sided tape to attach the paper to the panels. Don’t use clear tape as its glossy surface may cause uneven light reflection and glare onto the subject. Do also try to avoid creases or uneven bumps as it may create unpleasant shadows in your shots.
Step 3: On the exterior of the box, mark out 3cm lines from each edge of the top, left and right panel to create squares for the left and right panels, and a rectangle for the top.

Step 4: Use a sharp pen knife to cut into the marked out shapes.

Step 5: Use double-sided tape to attach the white paper to the top of the back panel.
 Tip: You can stitch two white paper sheets together with double-sided tape to clear the box. This creates a photography sweep that is used by professionals to achieve a seamless white background in their product shoot. Ensure that there are no folds or stains on the white paper.
Step 6: Attach your diffuser panels
Tip: Your diffuser panels can be tracing paper, white paper, baking sheets, or any translucent material of your choice. For this example, we used tracing paper, but you are more than welcome to experiment with others.
Final Look
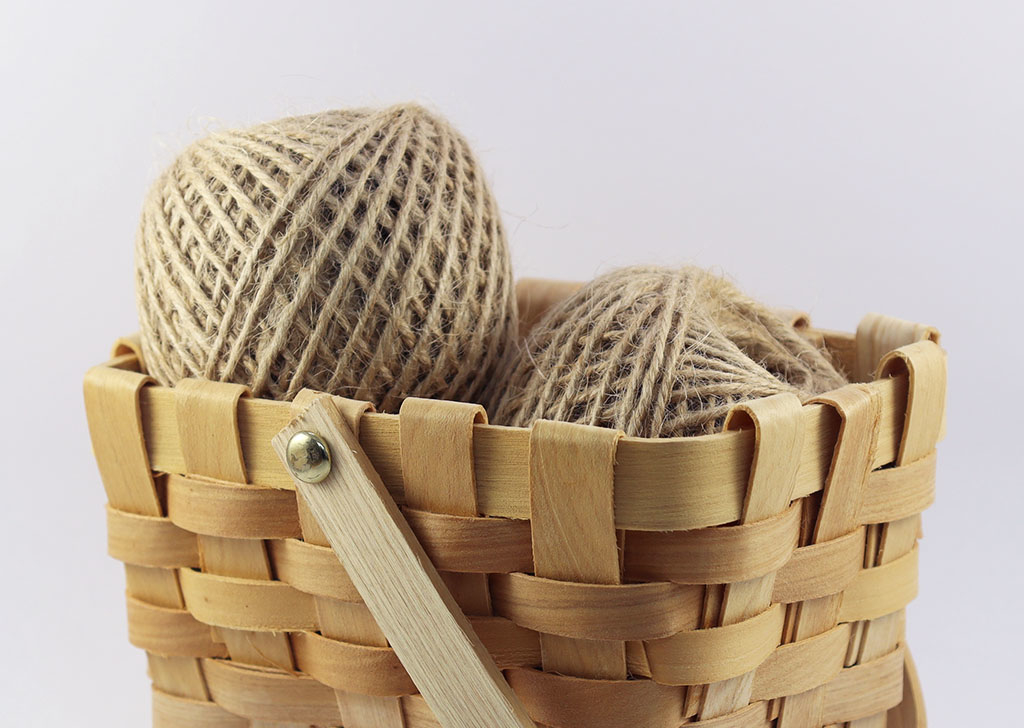
Trial Run
We did a simple setup and shot three different products with the Light Box to show you how it can help you achieve a quality replica of those owned by professional photographers. Check it out!
Sample Setup:

Output Shots:


These DIY Light Box steps are pretty standardised no matter what box size you wish to use. For bigger subjects, it would be more feasible to utilise boxes that are deeper to increase the depth and achieve a seamless-white backdrop. Do take note to scale down the panel-cutting measurement accordingly. For the sample we produced for this article, we used a regular 39cm x 26cm x 29cm box, which is suitable for photographing small to medium-sized products. The paper used for the panels is all A4 size.
For the light sources, you can opt for a range of regular light bulbs, desk lamps, speedlite or even professional table top fluorescent lighting. The main idea is to ensure that the light emitted is white and strong enough to illuminate your subject, making regular cellphone flash or a small torch light unusable for this setup. It is also equally important to ensure that the temperature of your light sources (left, right and top-down) shining on the diffuser sides are the same. If they are of a slightly yellow or blue-ish colour, adjust your white balance in your camera settings to achieve the accurate colour that is true to life
For more tips on Product photography and lighting:
Simple Product Photography Accessories
How to Create a Sparkly Background with Bokeh Circles for Pretty Trinket Pictures
Basic Techniques for Product Photography

