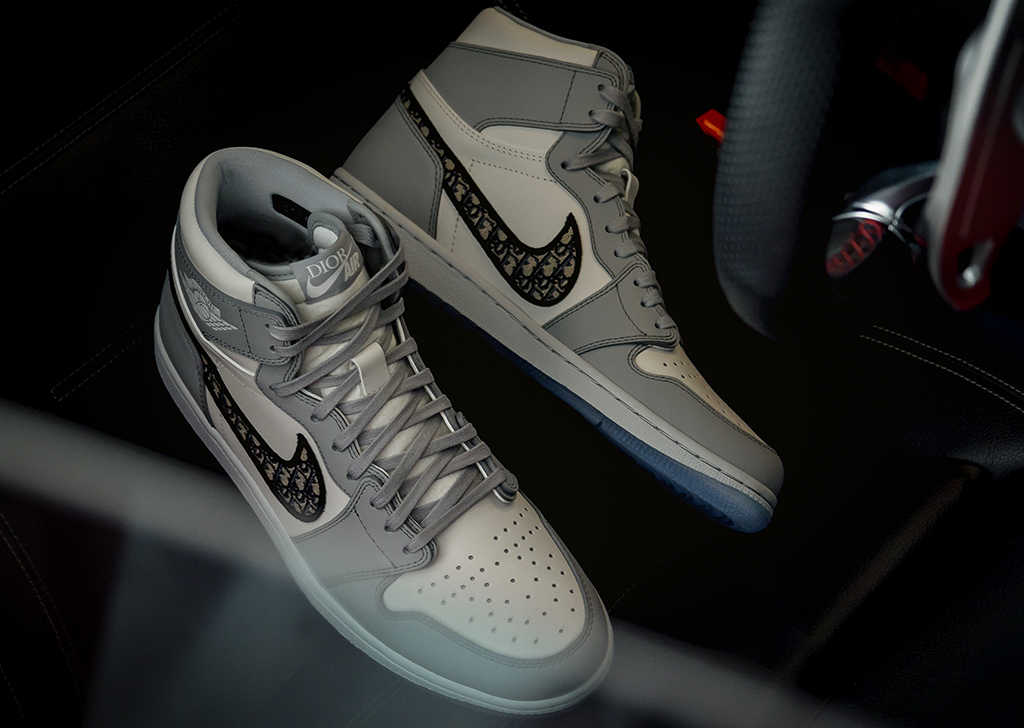
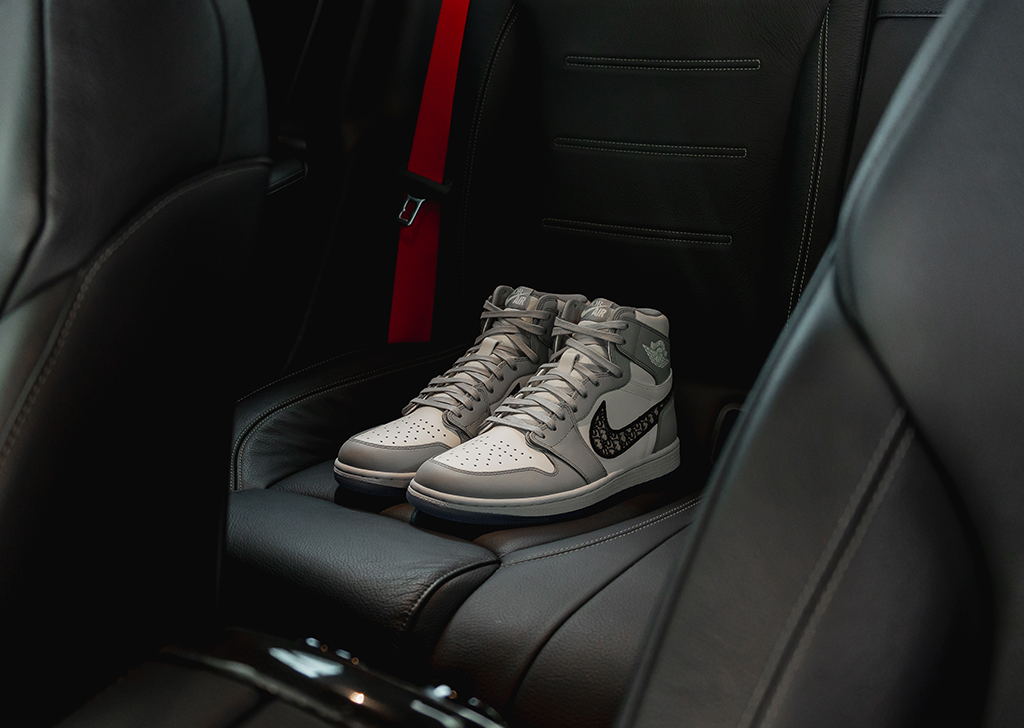
Get into the head of a sneakerhead like Dinnie, as he shares his journey to becoming a sneaker photographer and gives insider photography tips and lens recommendations to get you started!

EOS R6, RF24-105mm f/4-7.1 IS STM, f/6.3, ISO 640, 1/60s, 65mm
How and when did you start photographing sneakers as a hobby?
I have always loved sneakers – the look of them, the style, the colours and all their unique designs.
Photographing sneakers started when I wanted to resell some of my shoes that had resale value. I wanted to showcase them in the best way possible to attract more potential buyers to my listings. It worked, and that’s where I delved deeper into conceptualising, styling and developing ideas for sneaker photography.
In your view, what is sneaker photography all about?
I believe that sneaker photography is all about showcasing footwear as more than just footwear. There is a lot of care involved in maintaining your sneakers, the many different ways to show off your latest buy, and even how a simple white shoe can look expensive when styled and photographed well.

What do you look for in a shoe that you are shooting? What do you take note of?
I will usually look for colours, unique logos and accompanying accessories. I do like shoes that give me instant inspiration or a shoe that has a story to them. For me, most shoes have an ideal angle.
Learn about colour theories and how to capture them accurately!
For the example above, I was inspired by the official name of the sneakers ‘Dunk Low 'atmos Elephant’. I wanted to showcase the sneaker as an elephant found in the forest. Therefore, I searched for a suitable location that gave the effect of trees, leaves and dirt.
.jpg )
(LEFT TO RIGHT)
EOS R6, RF24-105mm f/4-7.1 IS STM, f/7.1, ISO 250, 1/60s, 85mm
EOS R6, RF24-105mm f/4-7.1 IS STM, f/8, ISO 400, 1/60s, 97mm
EOS R6, RF24-105mm f/4-7.1 IS STM, f/7.1, ISO 250, 1/60s, 82mm
I am a beginner. How should I get started in this photography niche?
As sneakers come in all sorts of shapes and sizes, I feel there’s no limit to how one can interpret the shoe and portray it in a frame. However, I would recommend starting with a basic shot where all details are in focus. You can utilise a deep depth of field to capture the material texture, the threading, the seams, the laces, the spots of colour and more. This gives the viewer an overall look at the subject in all its glory.
When you’re ready, you can experiment with the details found in each pair of shoes. They will usually have their unique selling feature (such as colour, texture, design, function and more), and you can experiment and conceptualise ideas that can highlight these key details.
Also, get creative with props! They can help you tell the story of the shoe and showcase your interpretation. You can also experiment with the positioning of the subject, such as photographing it from top-down, as a flat lay, hung up, and more. In my experience, the shots I love the most are those that I had a more casual interaction with - it could simply be throwing the shoes into a bag or holding them against an interesting-looking floor.
.jpg )
EOS R6, RF24-105mm f/4-7.1 IS STM, f/5, ISO 640, 1/20s, 37mm
How long do you take to prep your shoes, and what are your insider secrets?
It will usually take about 30 mins to an hour just to prep my shoes. My tips would be to photograph shoes between the UK size range of 8-9.5. Shoes that fall under or over that range have a different finish that is obvious in photos. The logo becomes more prominent, the swoosh (or details) is longer, the toe box comes off a little bigger and can look weird. In my opinion, bigger shoes are generally wider and longer, which I feel is jarring in photography, especially when compared or placed with other elements. Smaller shoes are more appealing and proportionately cuter!
Stuffing and filling the shoes is the secret sauce (the above image shows the example between a shoe that is prepped and not prepped). A shoe on a foot looks better than when it's on the shelf of a store. So, fill that shoe with paper stuffing or socks to buff it up to look more realistic as though it’s being worn.
Lacing the shoe is something that many photographers don't do. You have to make sure that the laces are flat, neat, and symmetrical.
Location is not that important unless it is crucial to telling the story. I would look for walls with some graffiti or throw them in the washing machine with some jeans to complete the shoot.
Which lenses would you say are great for sneaker photography?
I believe that a normal Zoom lens and a macro lens should be sufficient. You don’t need a fancy camera combination as sneakers aren’t difficult subjects to work with.
I would recommend these lenses as a start: Canon RF24-70mm f/2.8L IS USM, Canon RF24-105mm f/4-7.1 IS STM and Canon RF100mm f/2.8L Macro IS USM for capturing details.

EOS R6, RF24-105mm f/4-7.1 IS STM, f/4.5, ISO 800, 1/30s, 33mm
How do you breathe life into the product through photography?
I play around with a lot of styles that range from using different lights and adding or subtracting shadows. I would always try to add my perspective into my shots, and I wouldn’t mind getting the shoe dirty or wet to achieve the look. Of course, post-processing is sometimes necessary to edit and tweak parts of your shots to achieve the final output.
What do you hope to show in your images?
I want to showcase any shoes, even the unconventional ones, to look stylish to my followers. I want to make the shoes more likeable and marketable by having viewers think that the shoes look cool every time.
For similar articles:
Simple Product Photography: Accessories
5 Useful Camera Settings to Remember for Indoor Shoots
Fashion Photography: Eyes Tell a Story


